Reviews

Why use a Moment QuickLock CineBloom filter?

Why use a Moment QuickLock CineBloom filter?

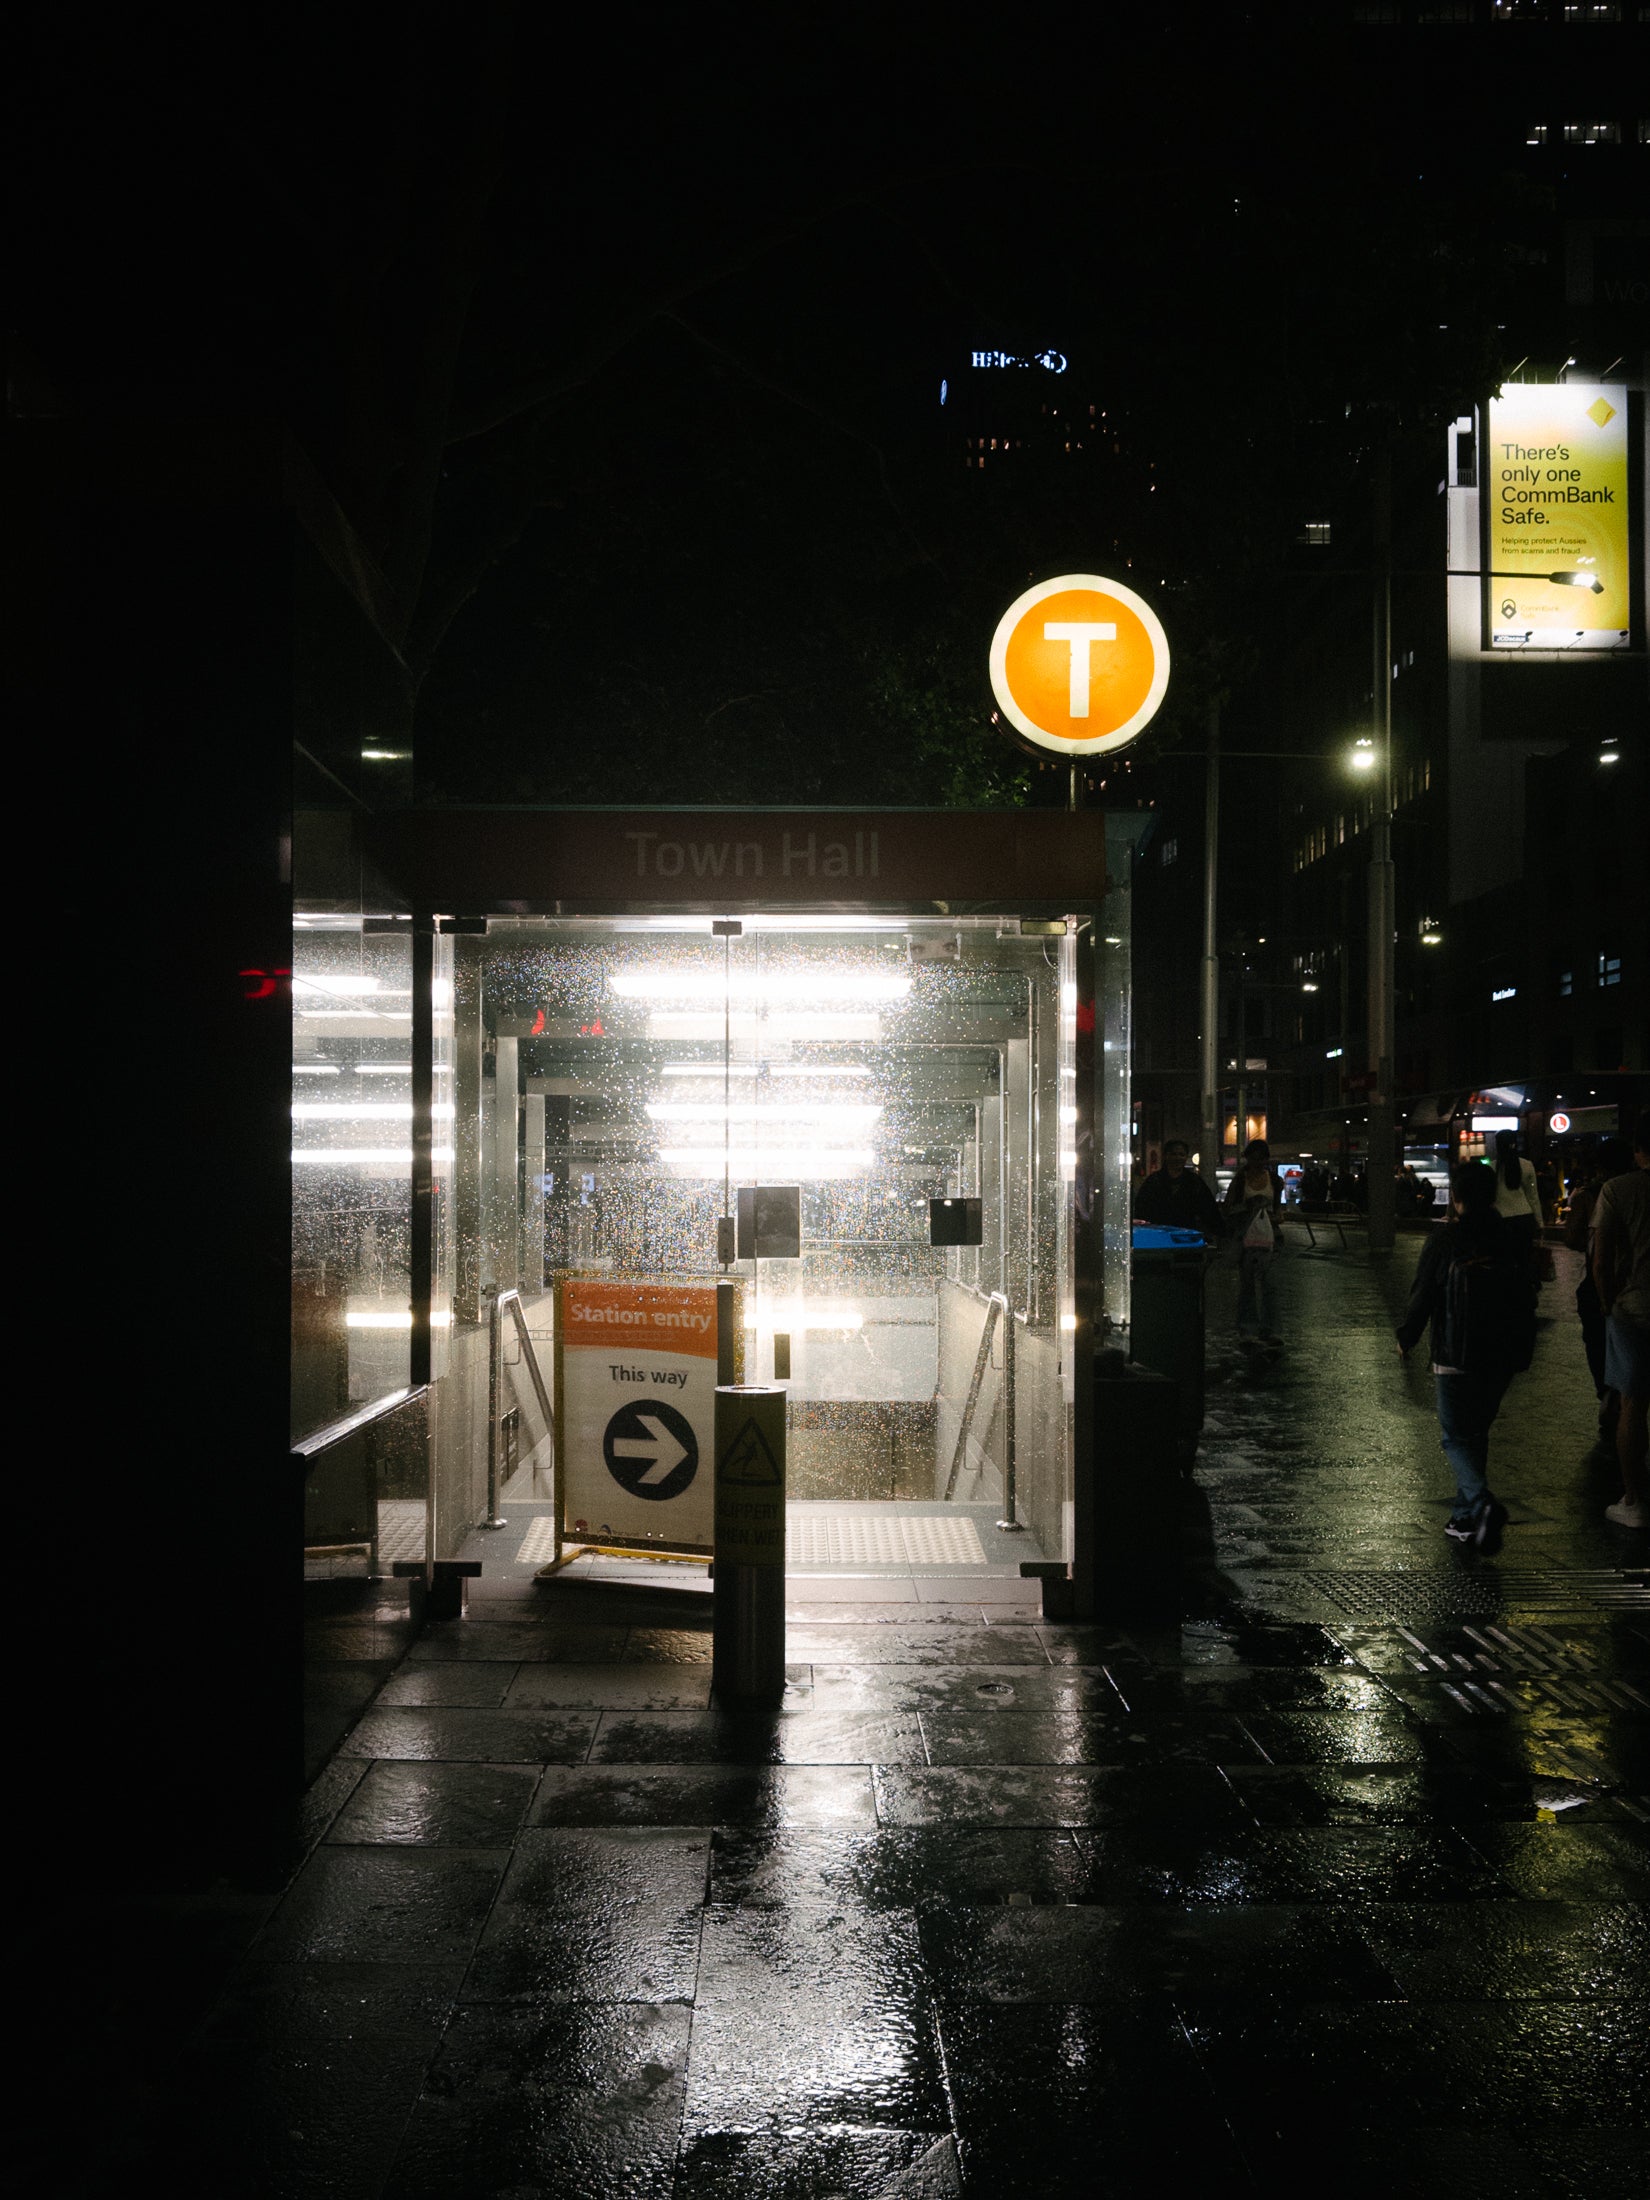
With a combination of hardware and software wizardry, the Apple iPhone 16 Pro is a great everyday general-purpose camera. When you snap a photo, it does everything to make it "good". The photo is sharp, evenly lit, and neutral in terms of colour and contrast.

It's great for capturing things at the spur of the moment, but not if you want to take a stylised or organic-looking photo. While camera apps give you control over light and colour, the one thing they can't control is the artificial sharpening of an iPhone photo.

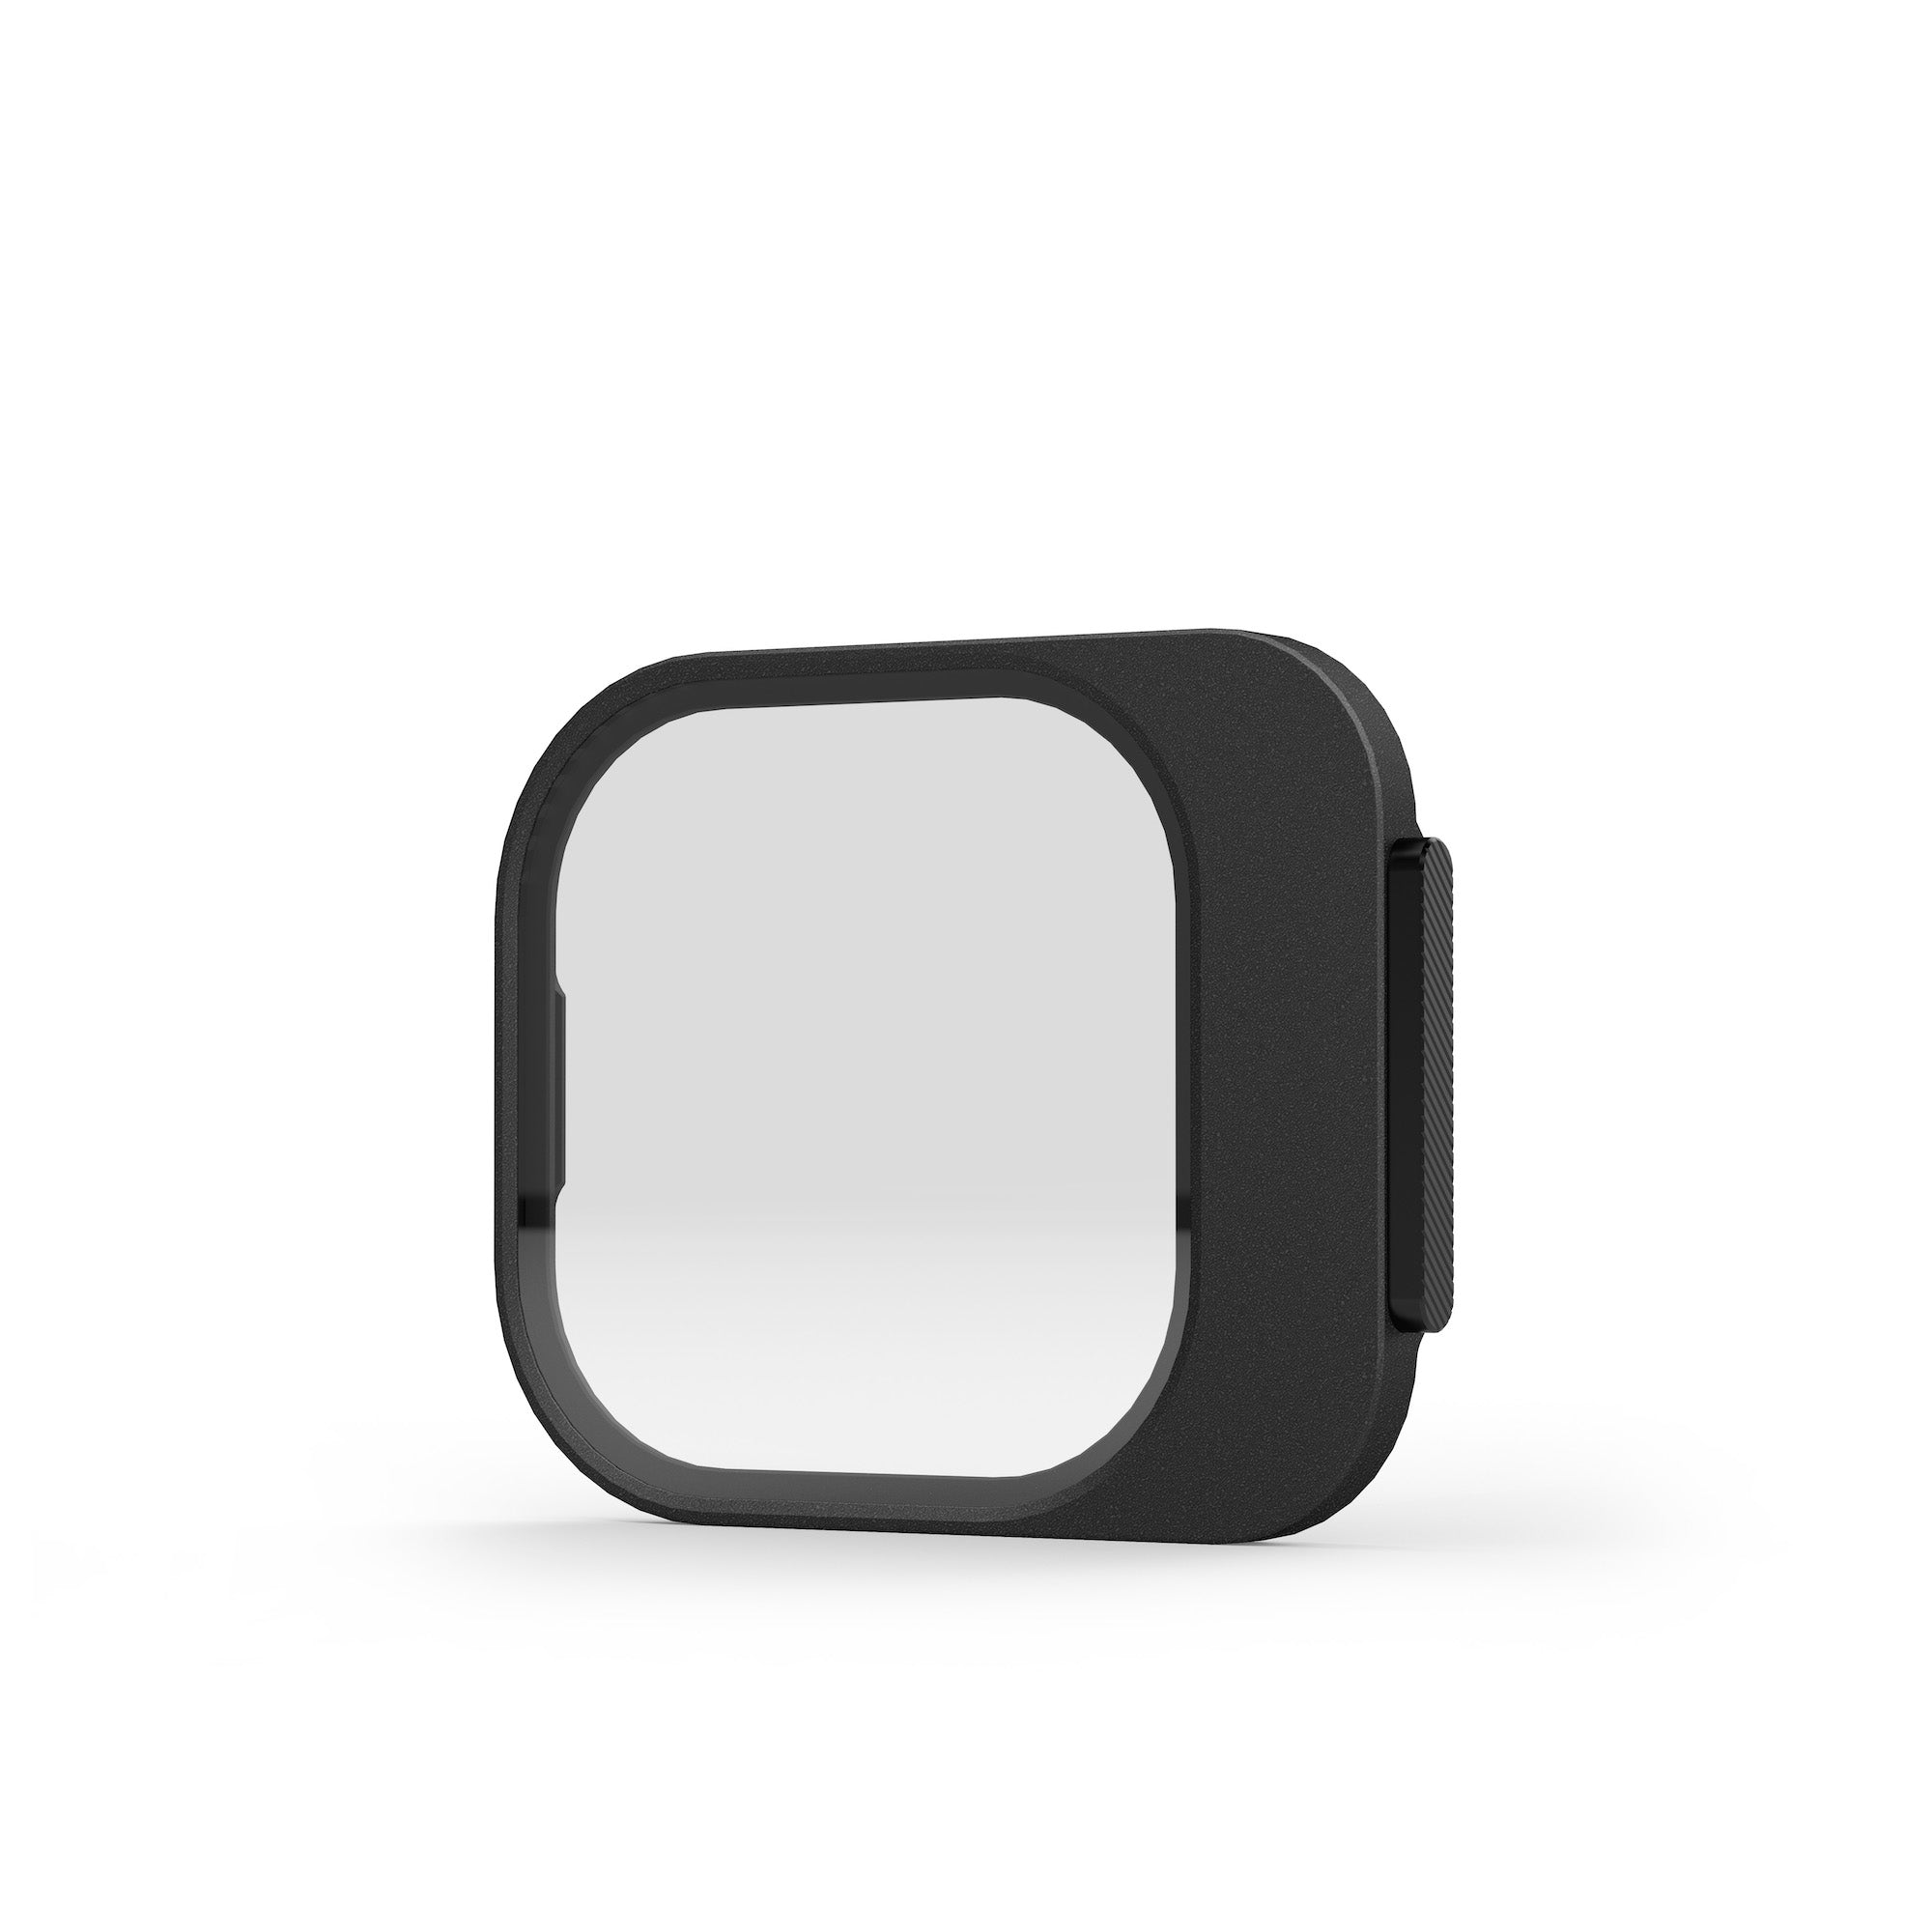
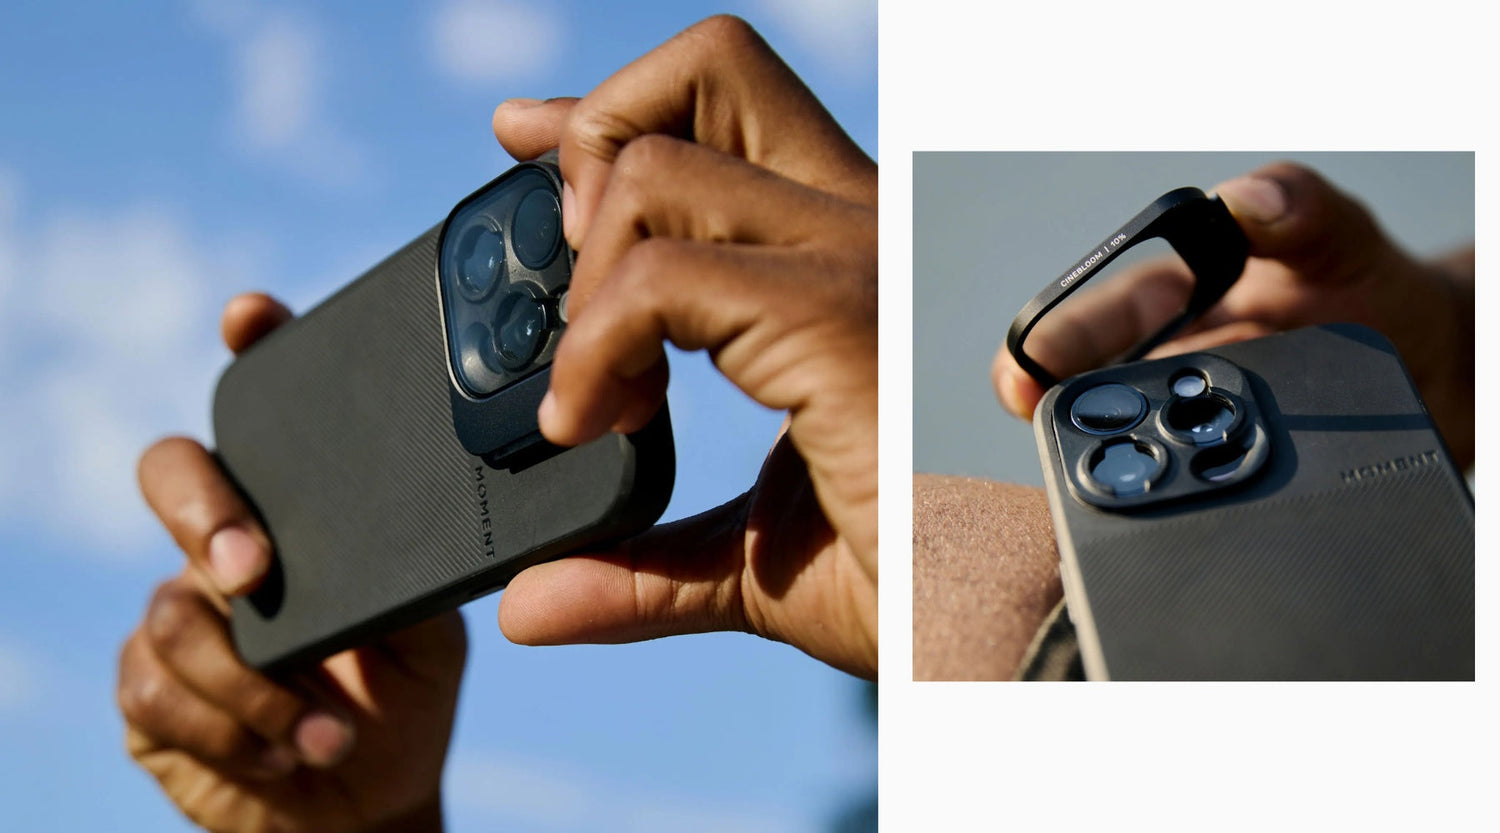
The Moment CineBloom filter can help with this, as the filter softens edges and blooms light sources. However, the mounts and filters are quite big. For that reason, I prefer to take a camera with me (Ricoh GR3 or Fuji X100).

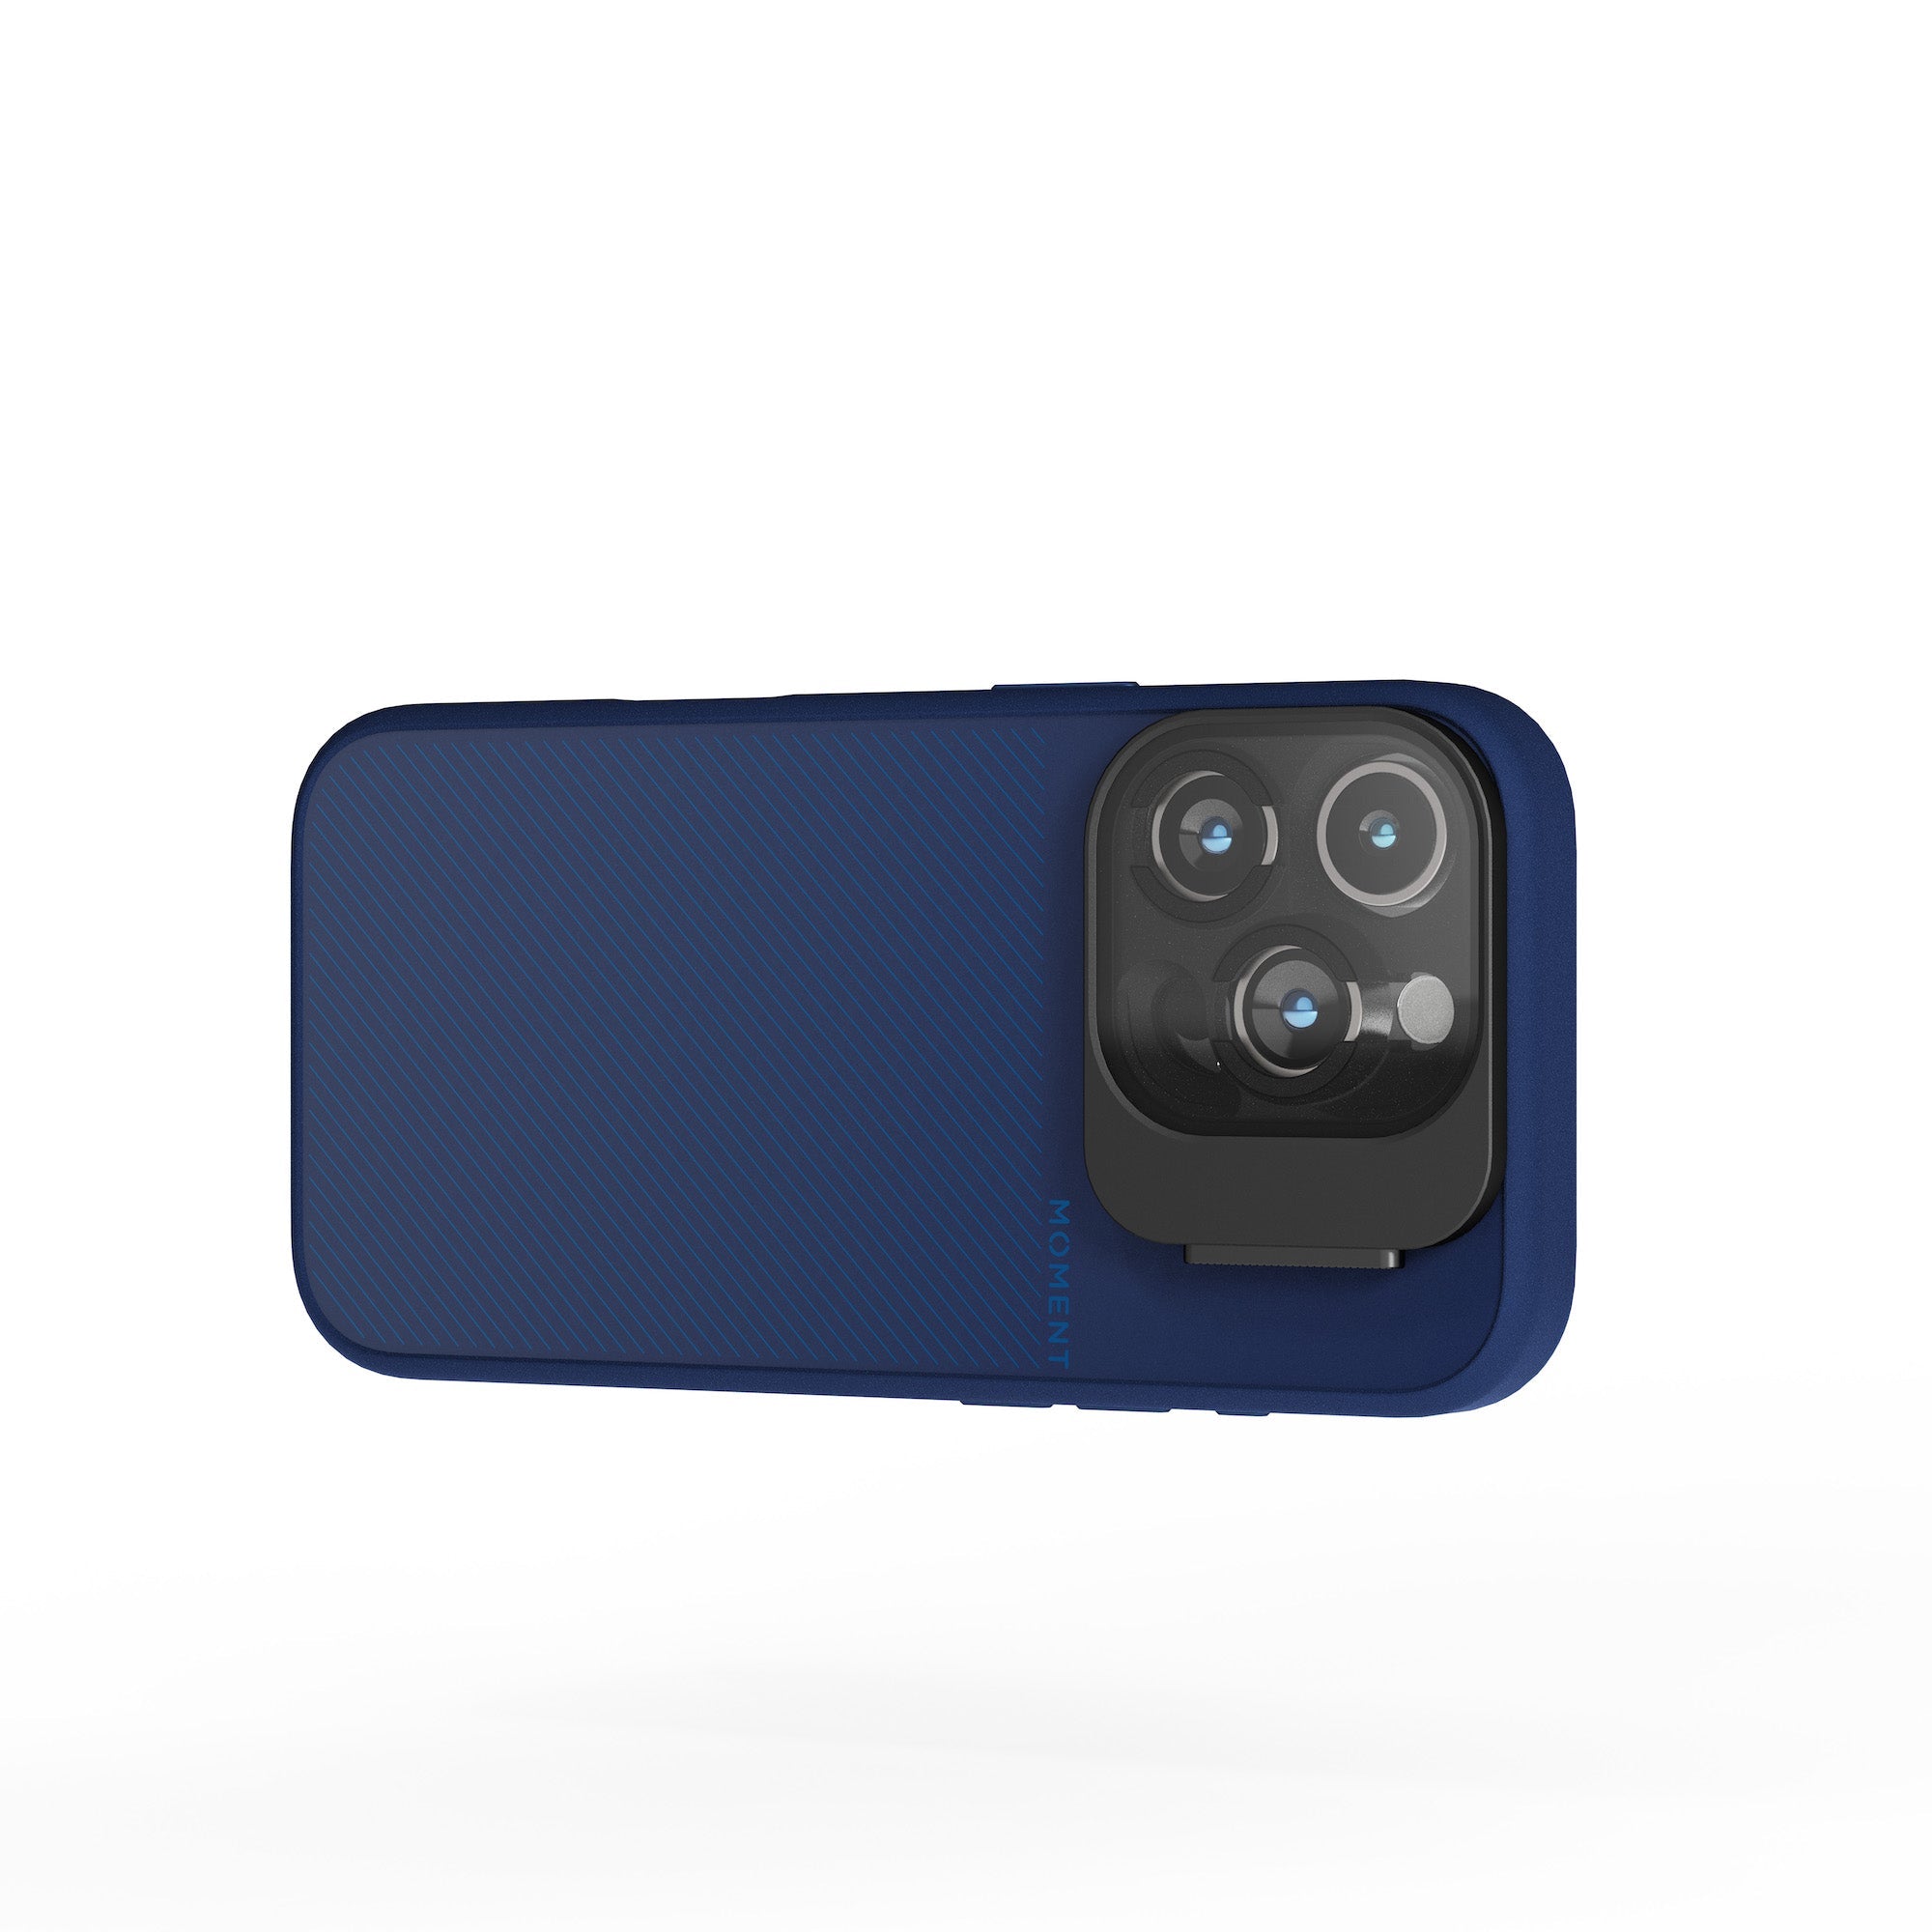
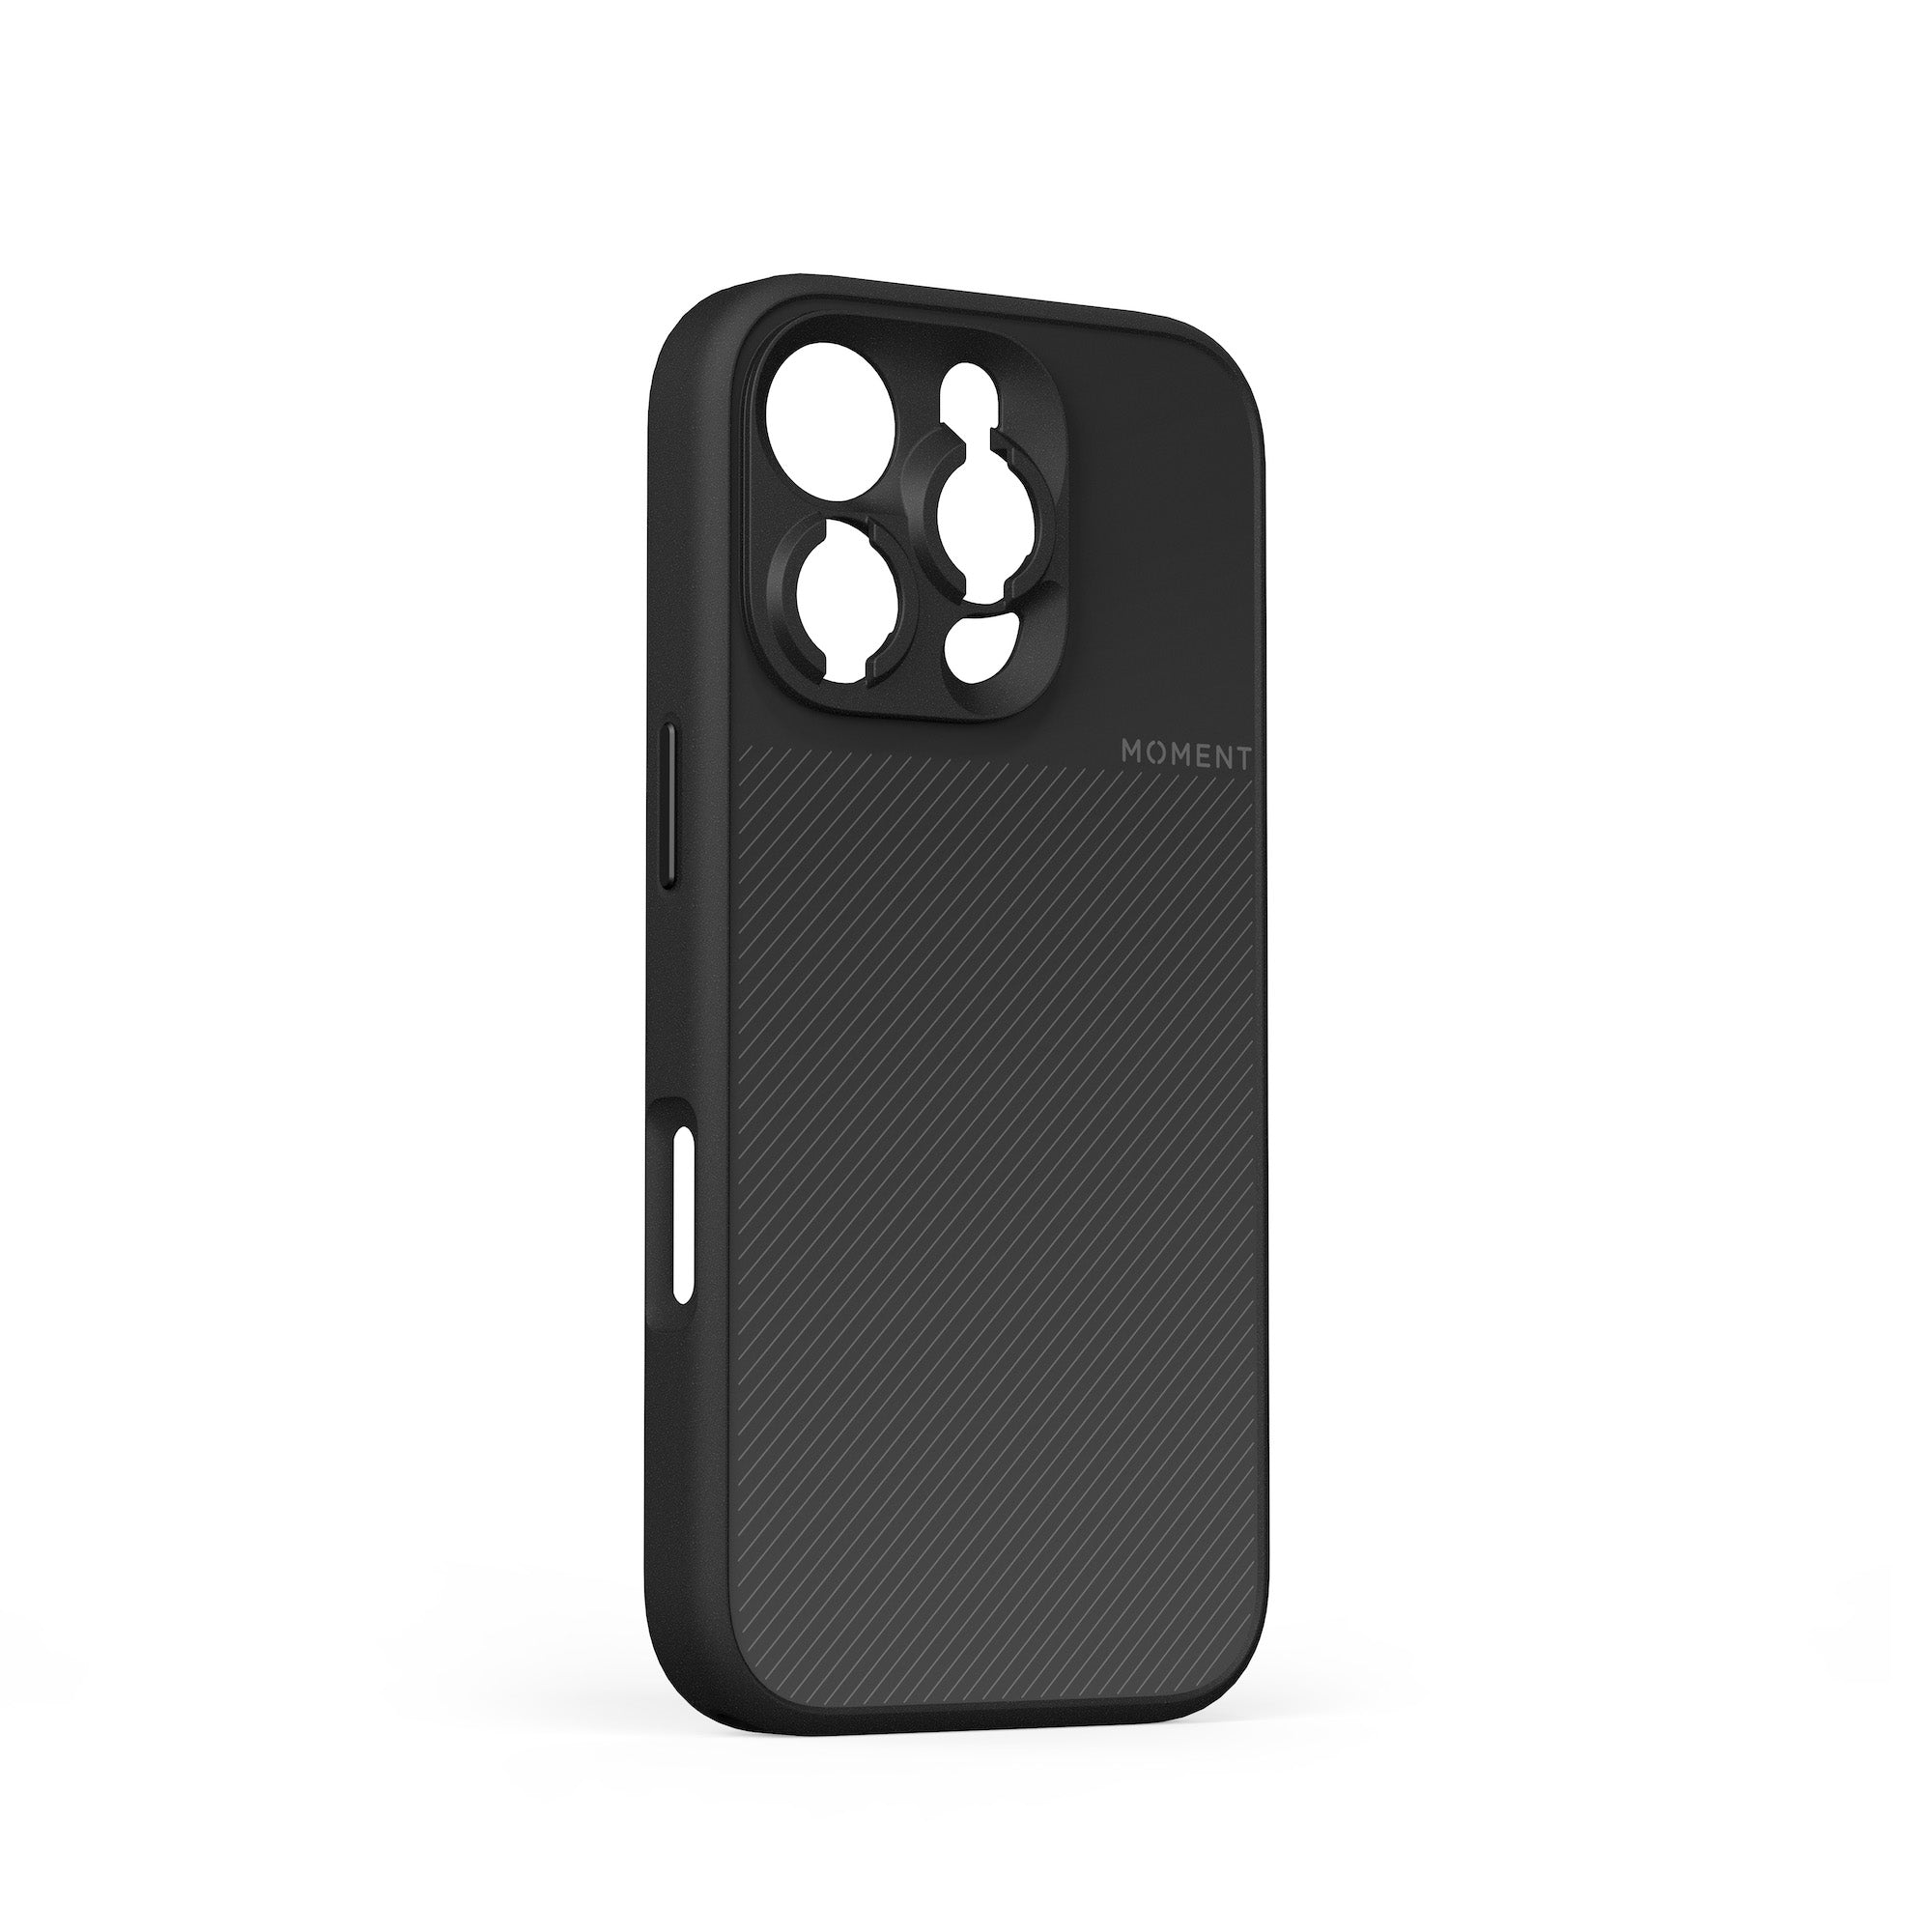
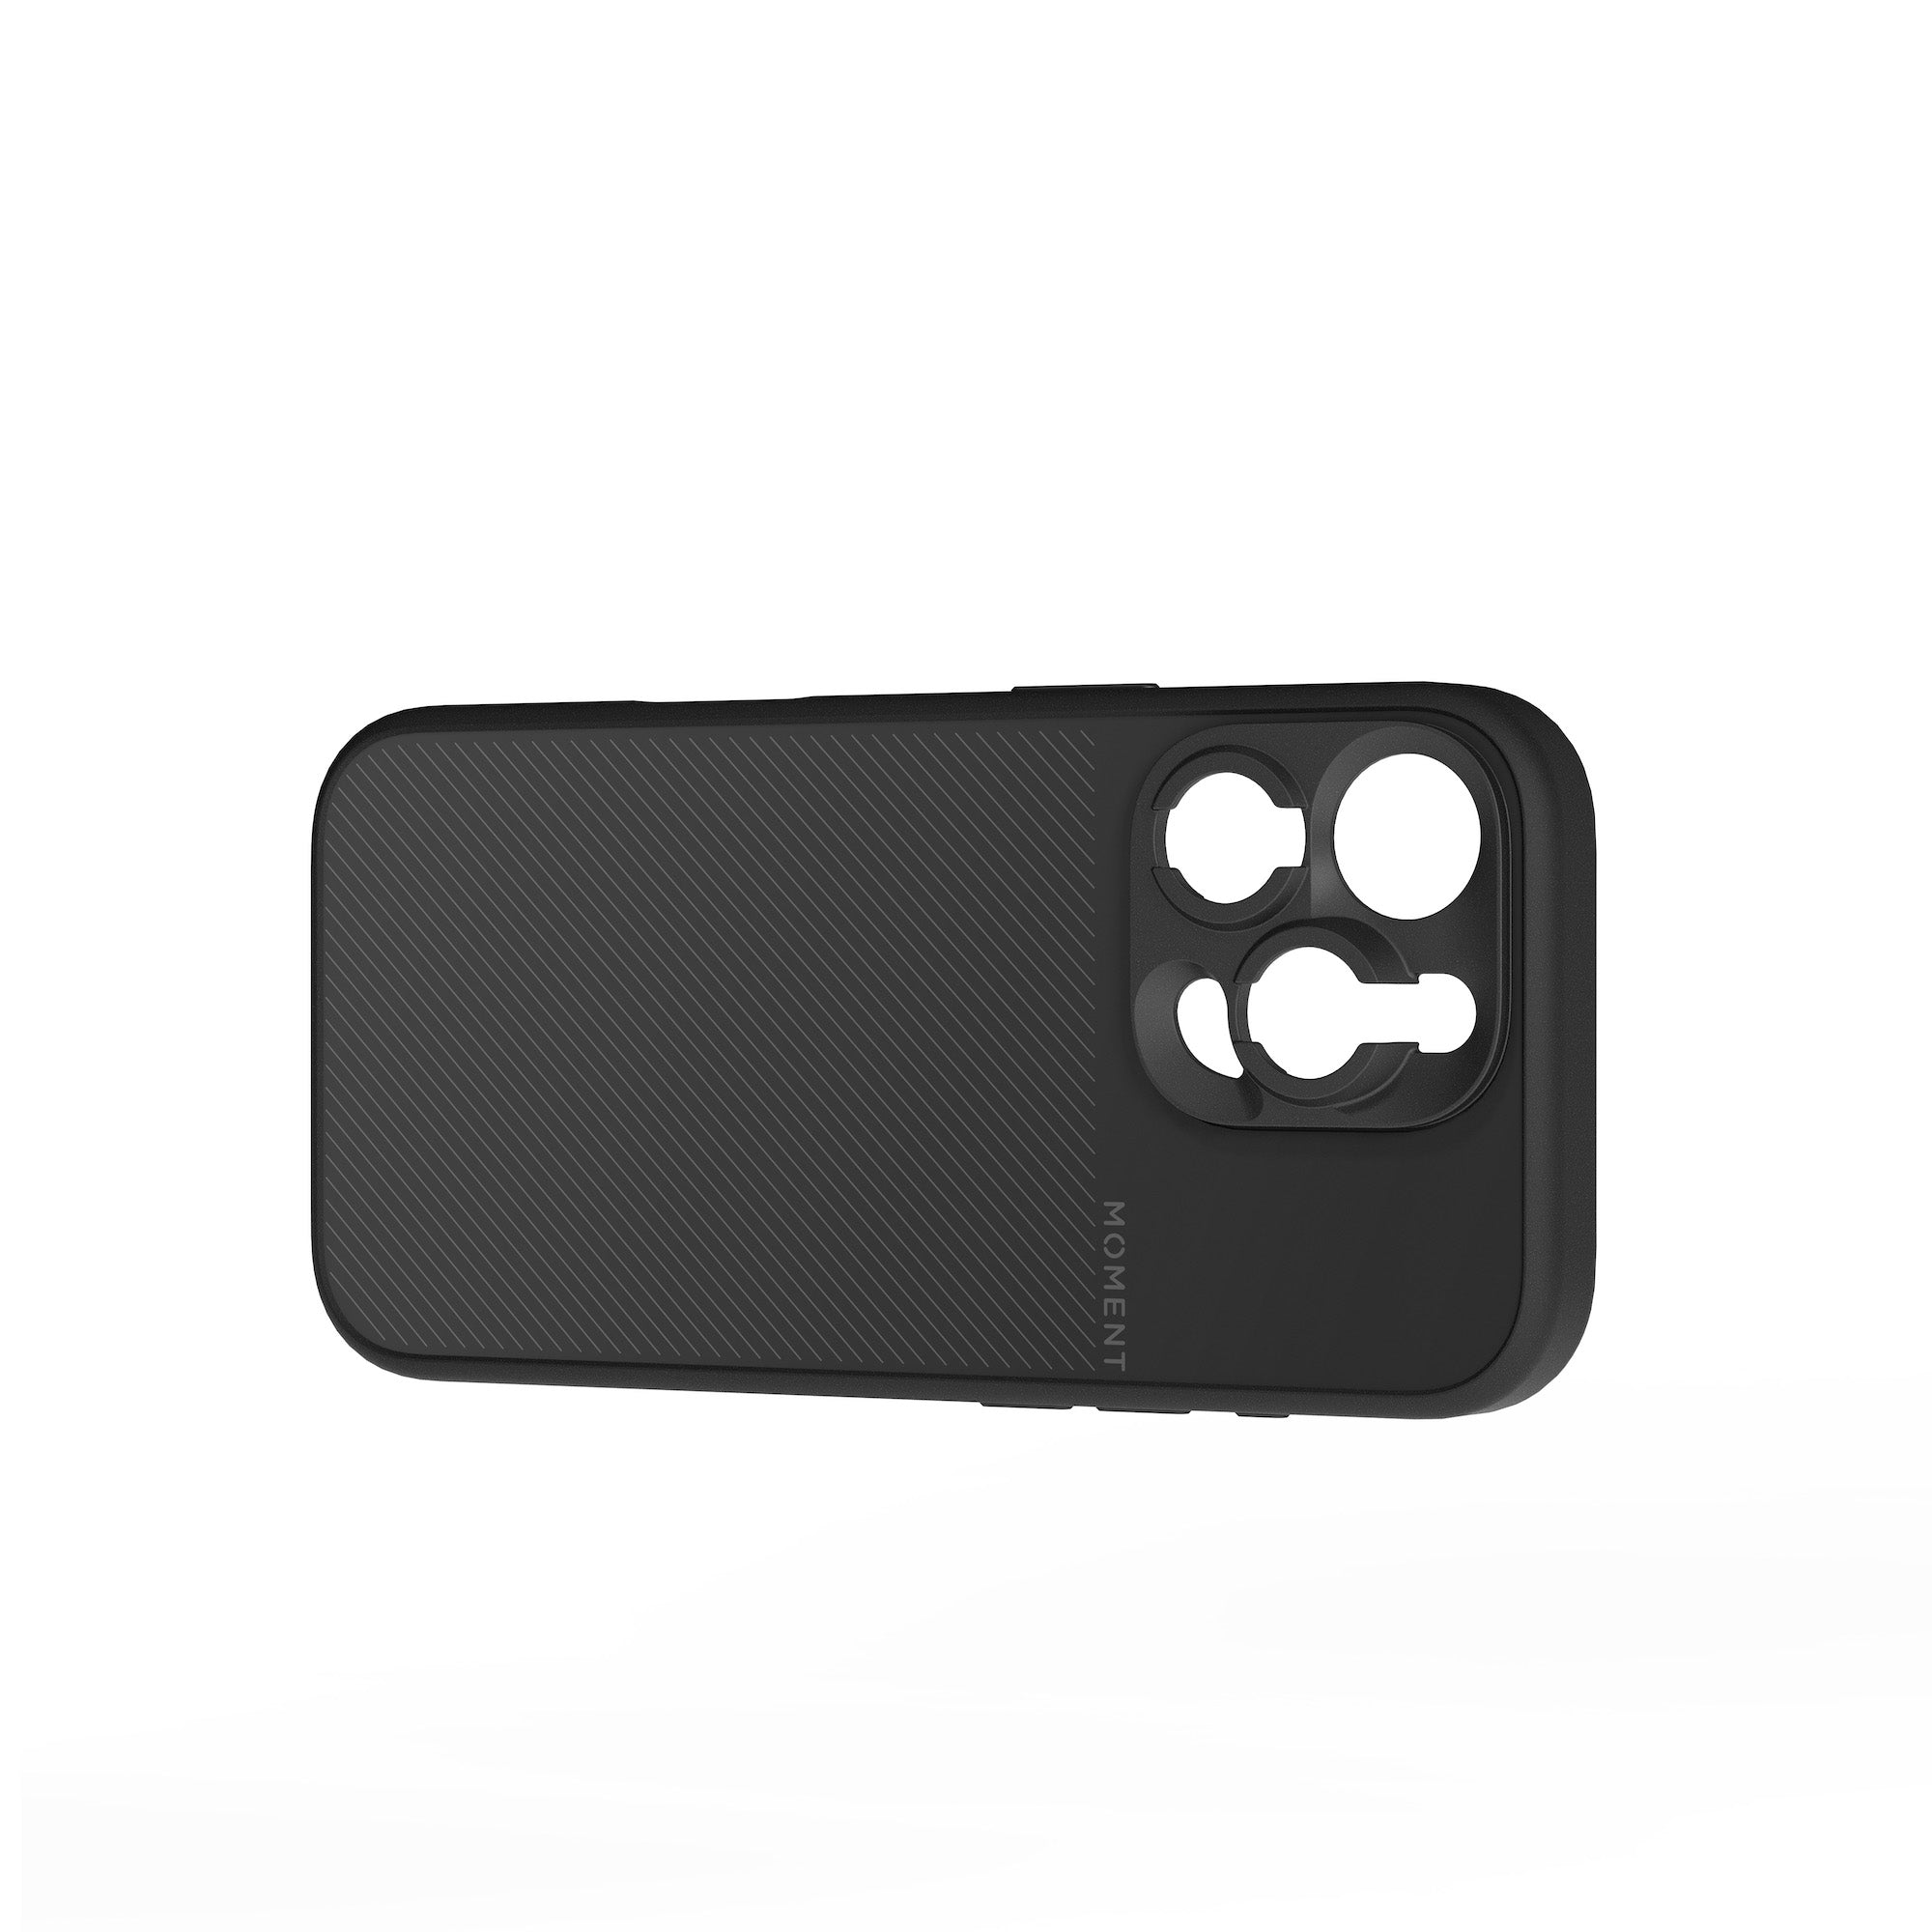
With the new QuickLock system, I no longer have to juggle with any external mounts as these are made for mobile use. The CineBloom filters snap directly onto a Moment Case (15 / 16 Pro and Pro Max), so the iPhone remains pocketable with the filters on.

Armed with this new setup, I set out to see if this setup could get images that look less like an iPhone photo.

Equipment, Apps, and Editing

In terms of equipment, this is what I used.

  • iPhone 16 Pro
  • Moment Camera Case in Ivy
  • QuickLock CineBloom 10% and 20%
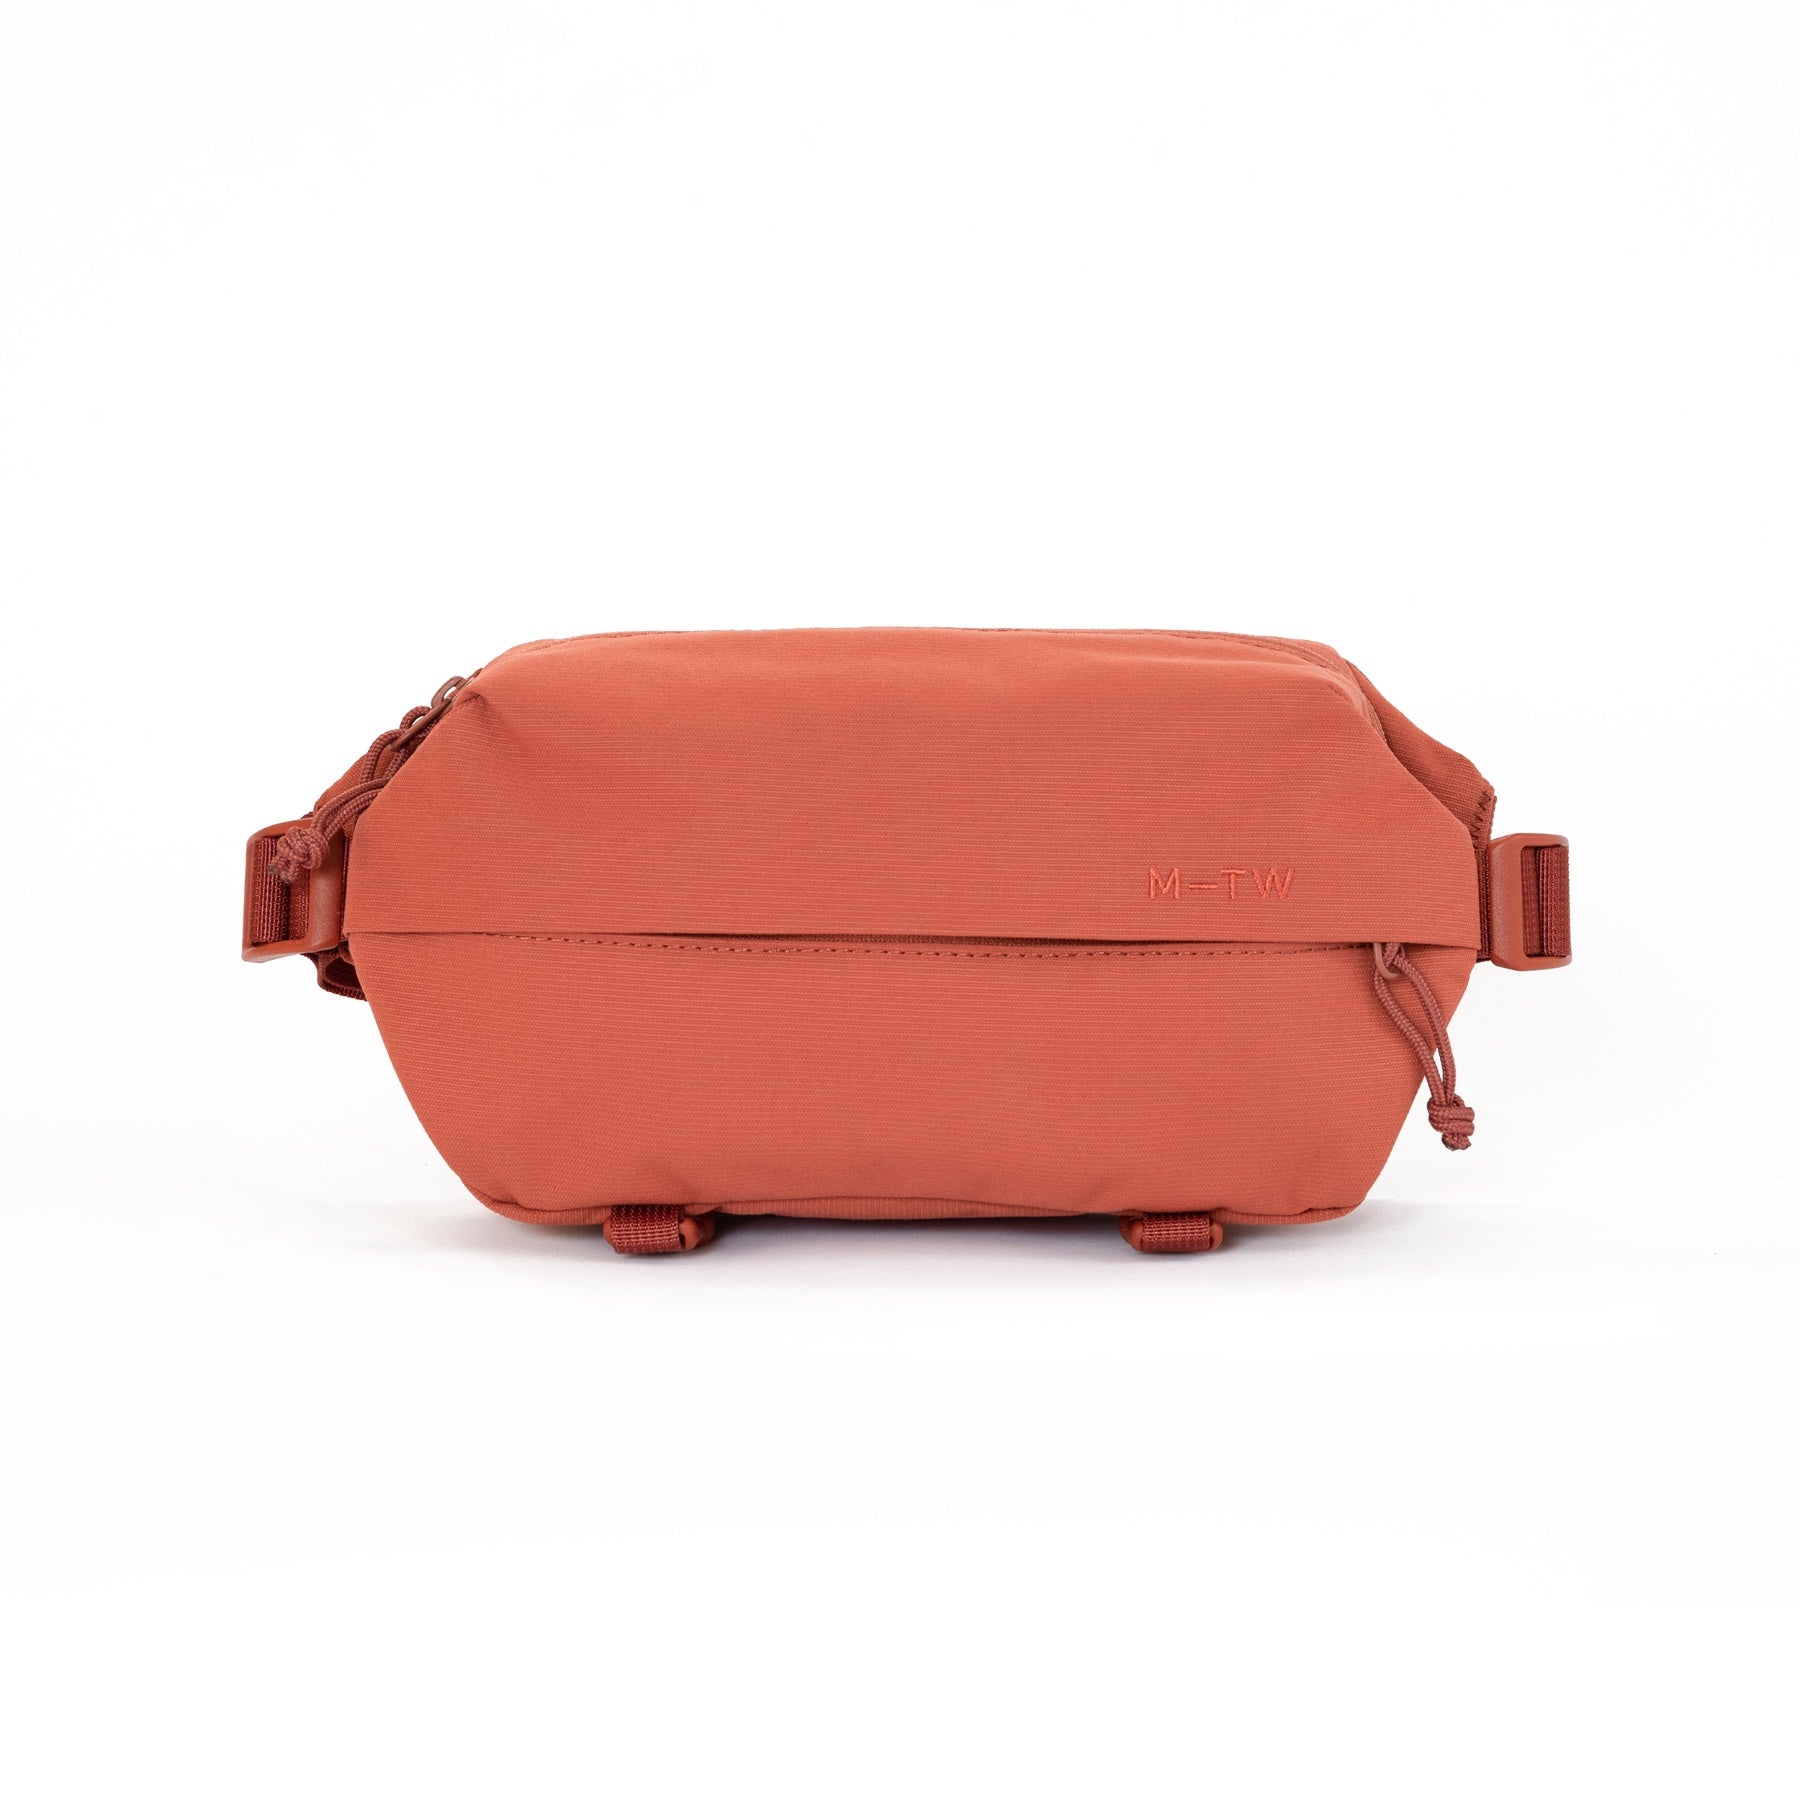
  • Moment Fanny Sling 2L

The camera apps I used were Halide and the default camera app. Both were set to take photos in RAW format for maximum editing flexibility.

The photos were edited in Adobe Lightroom Classic on my Mac. I used this app not because it is the most popular, but because I am the most familiar with it. To get the most out of the iPhone camera and these filters, I'd recommend getting comfortable with RAW image editing.

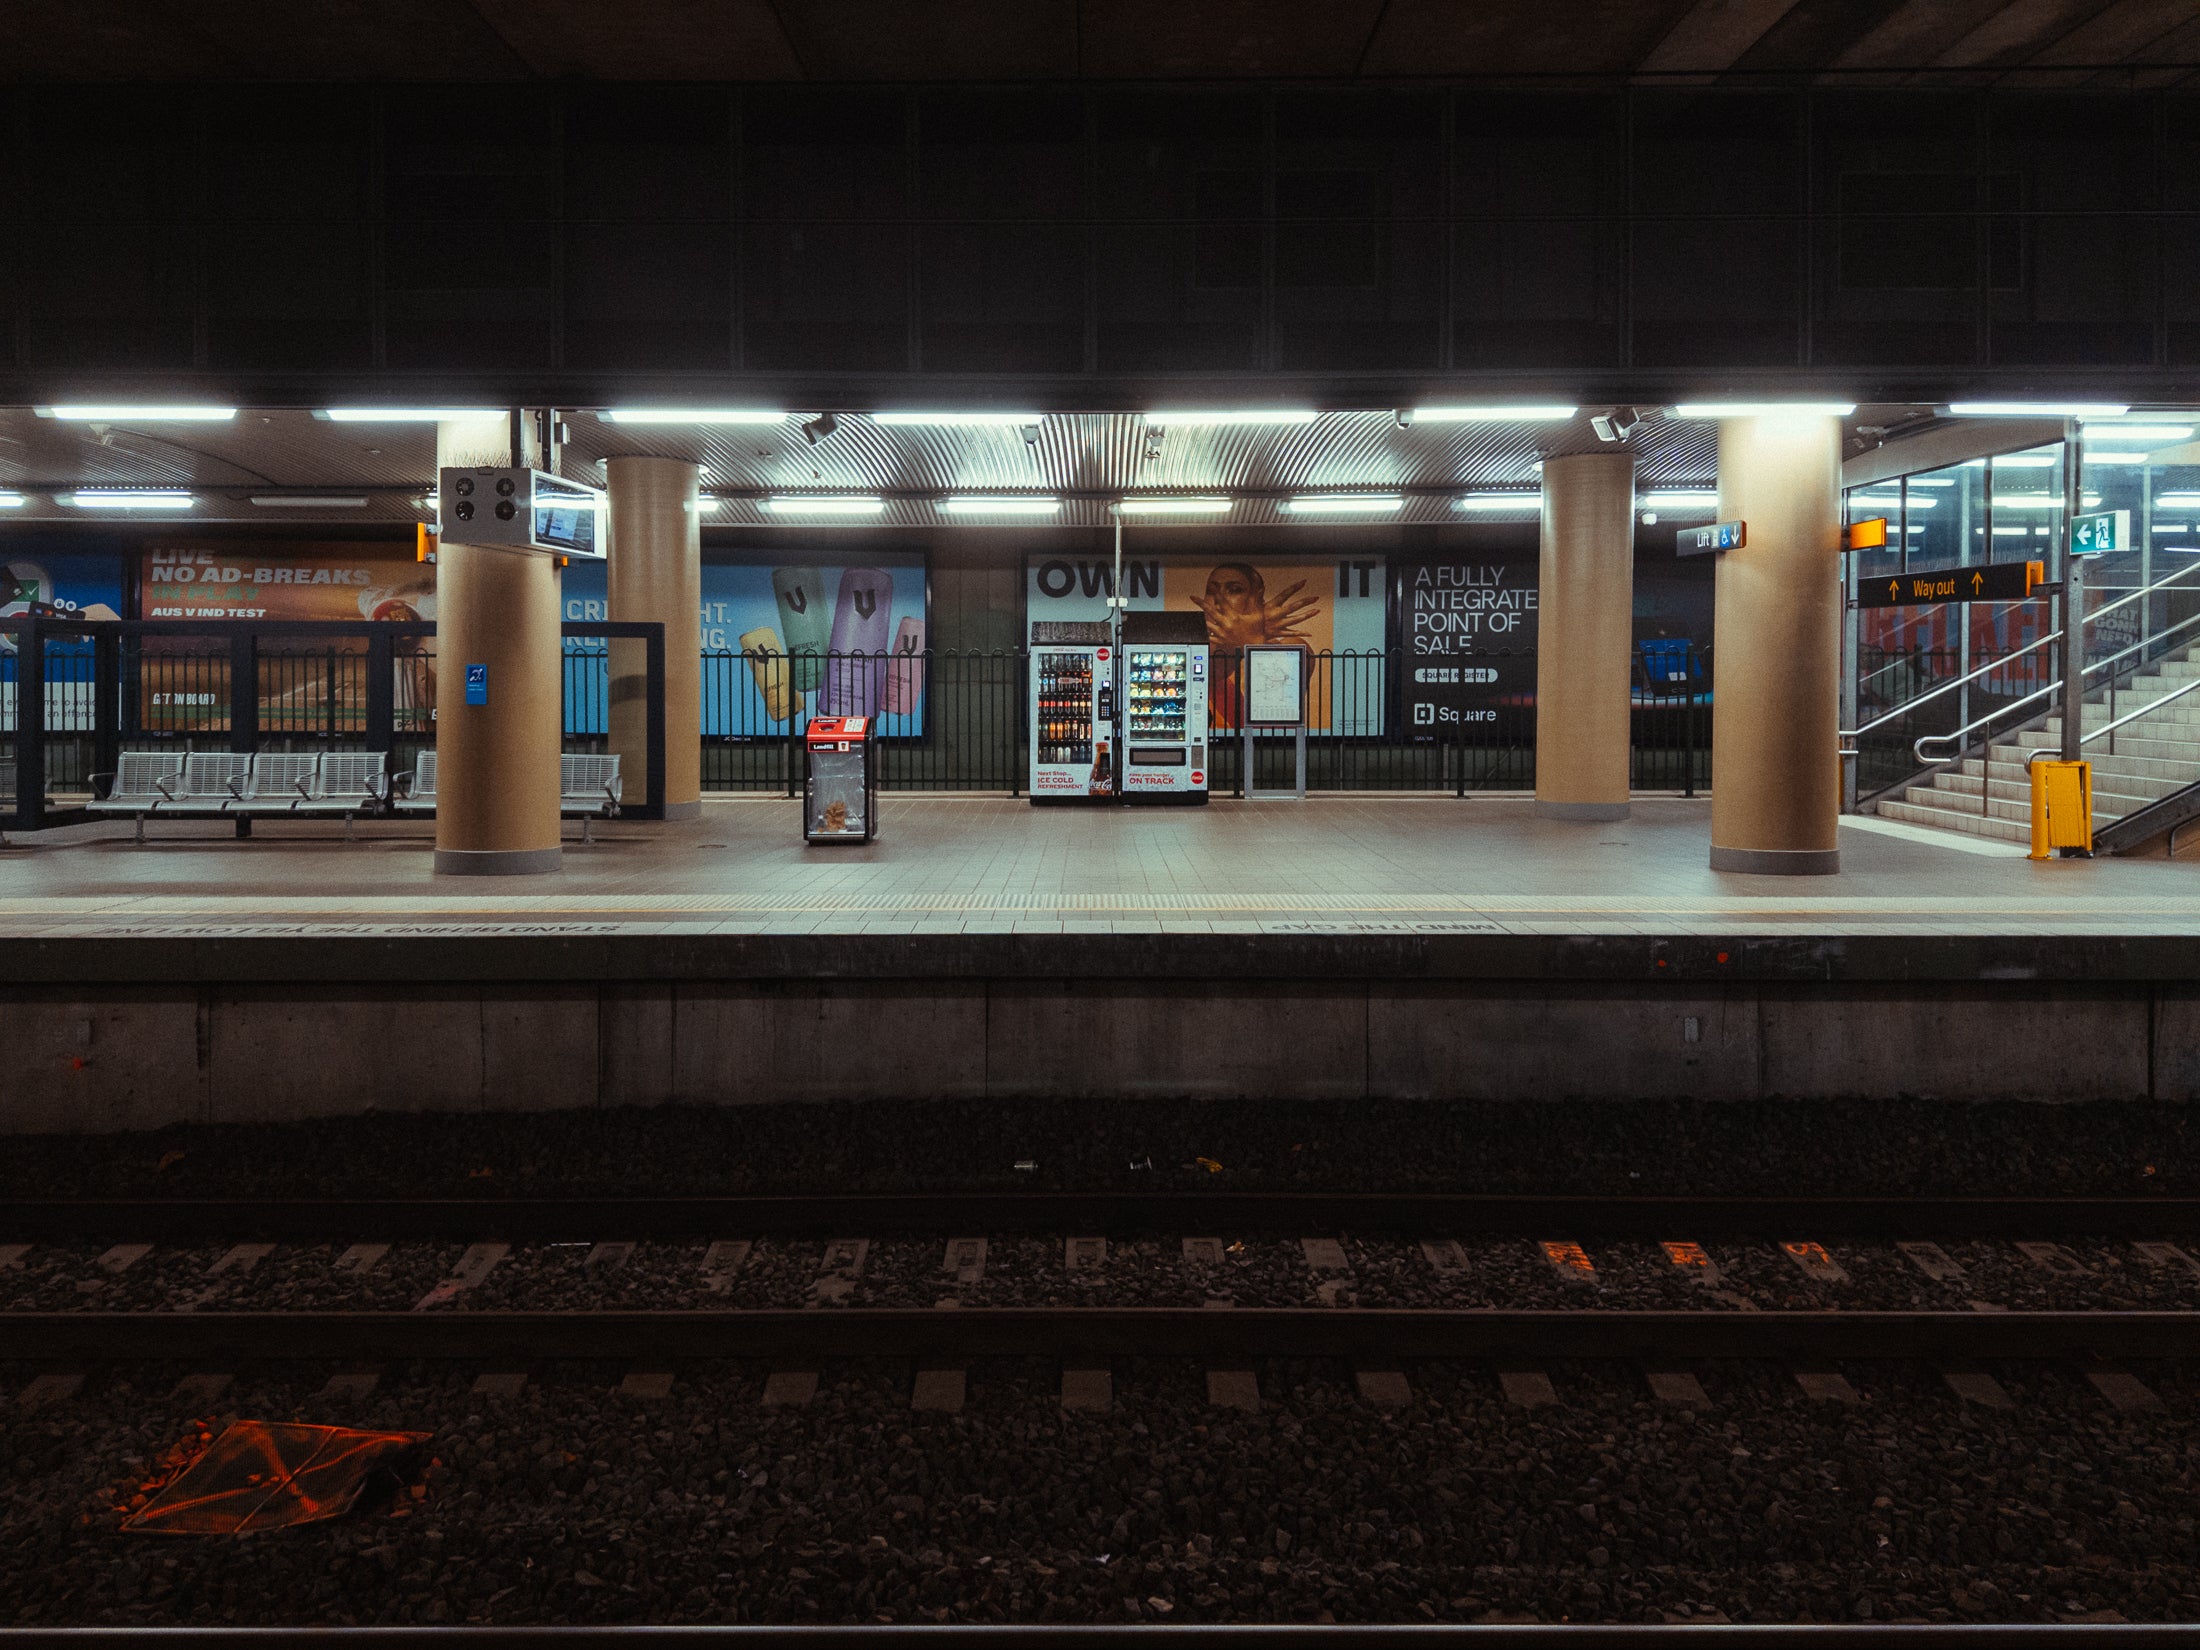
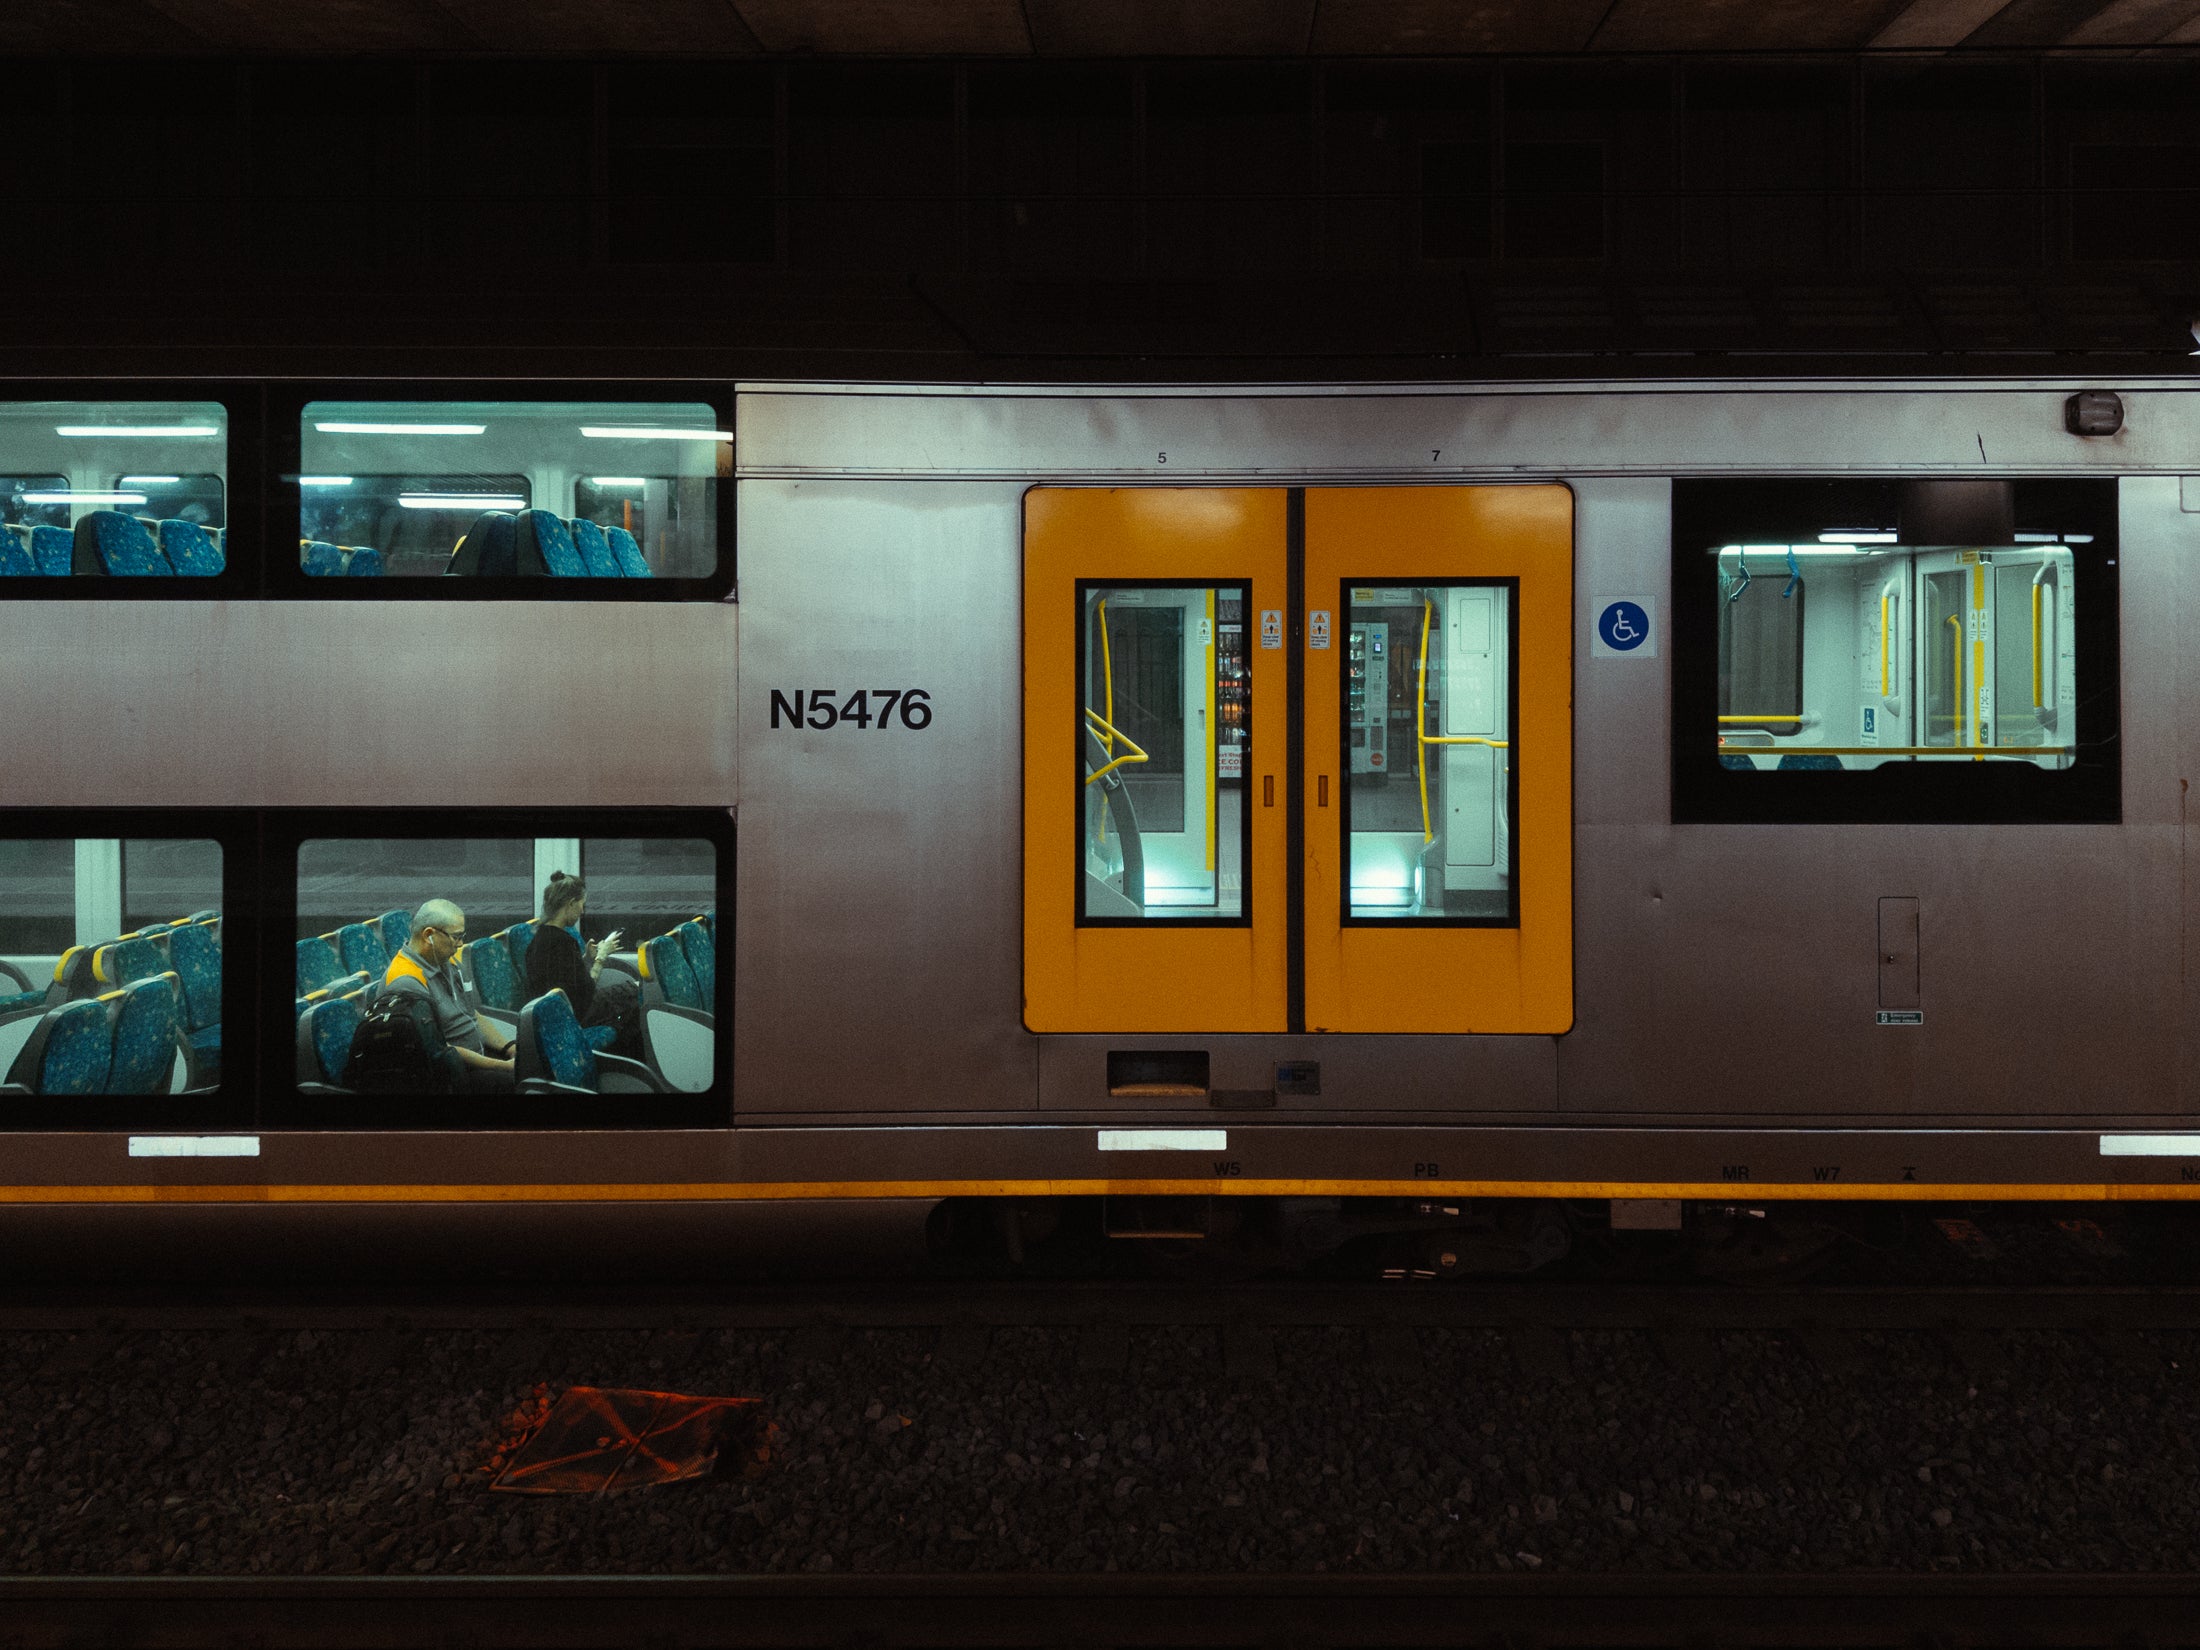
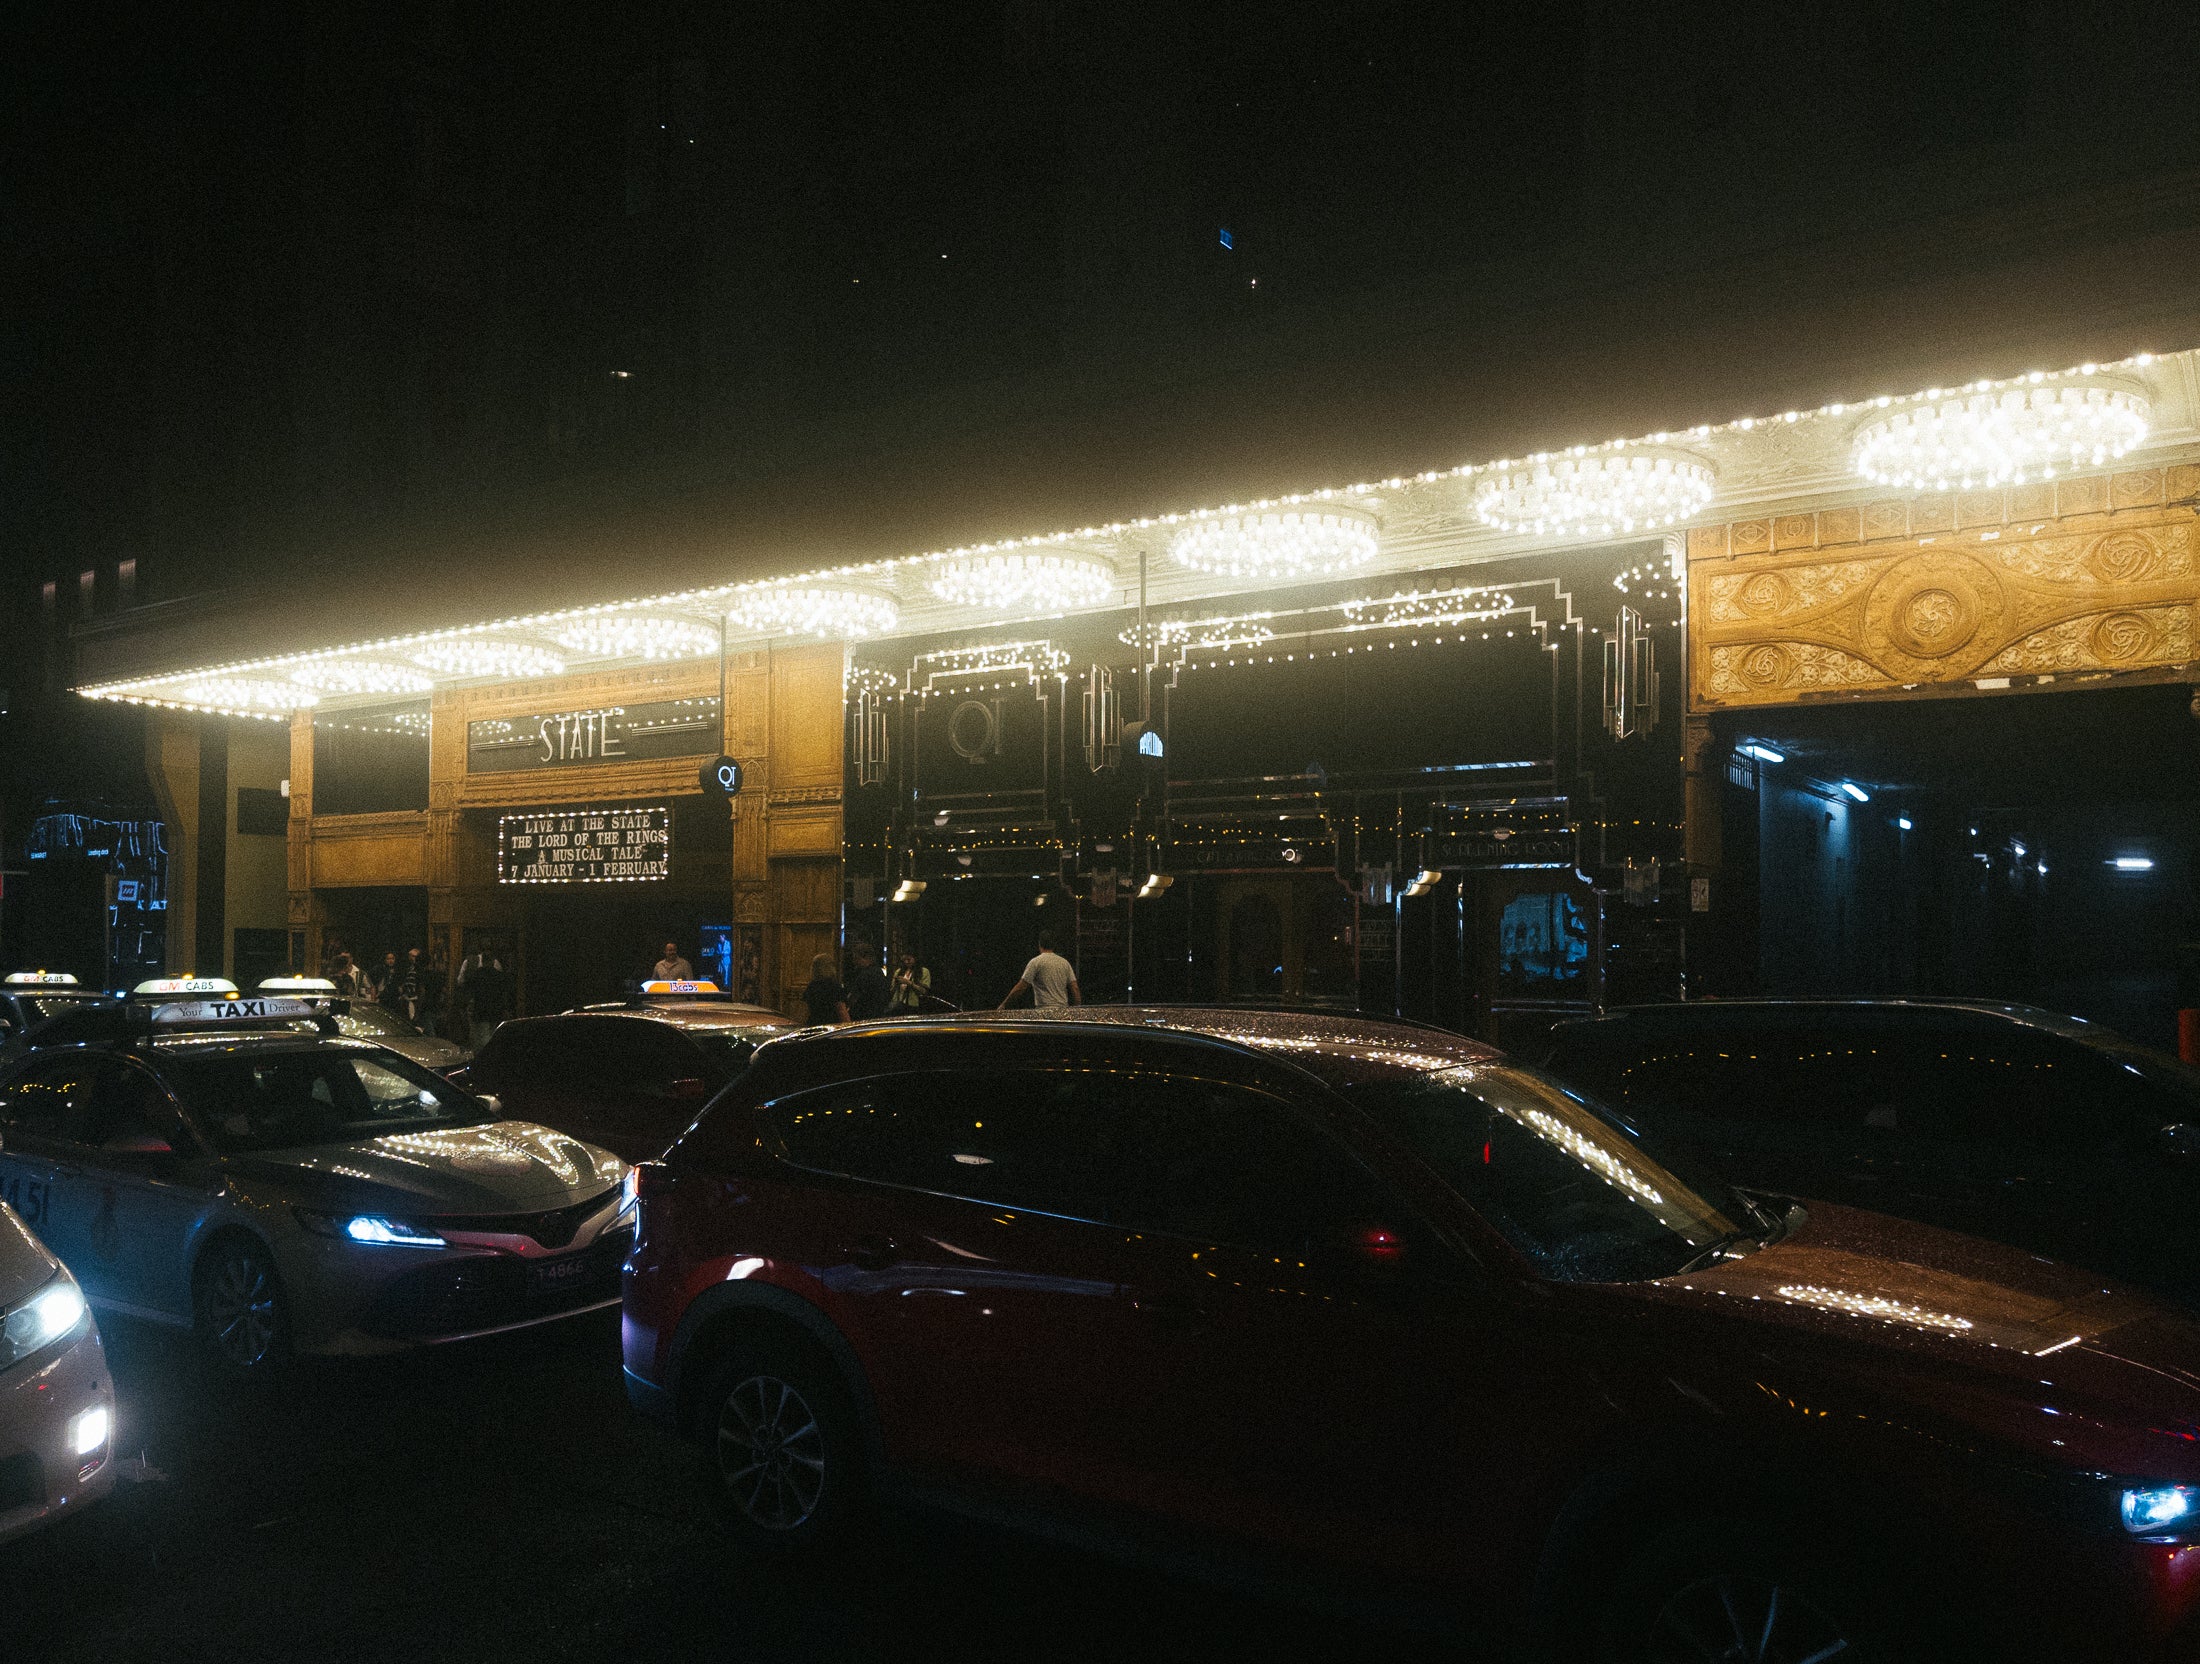
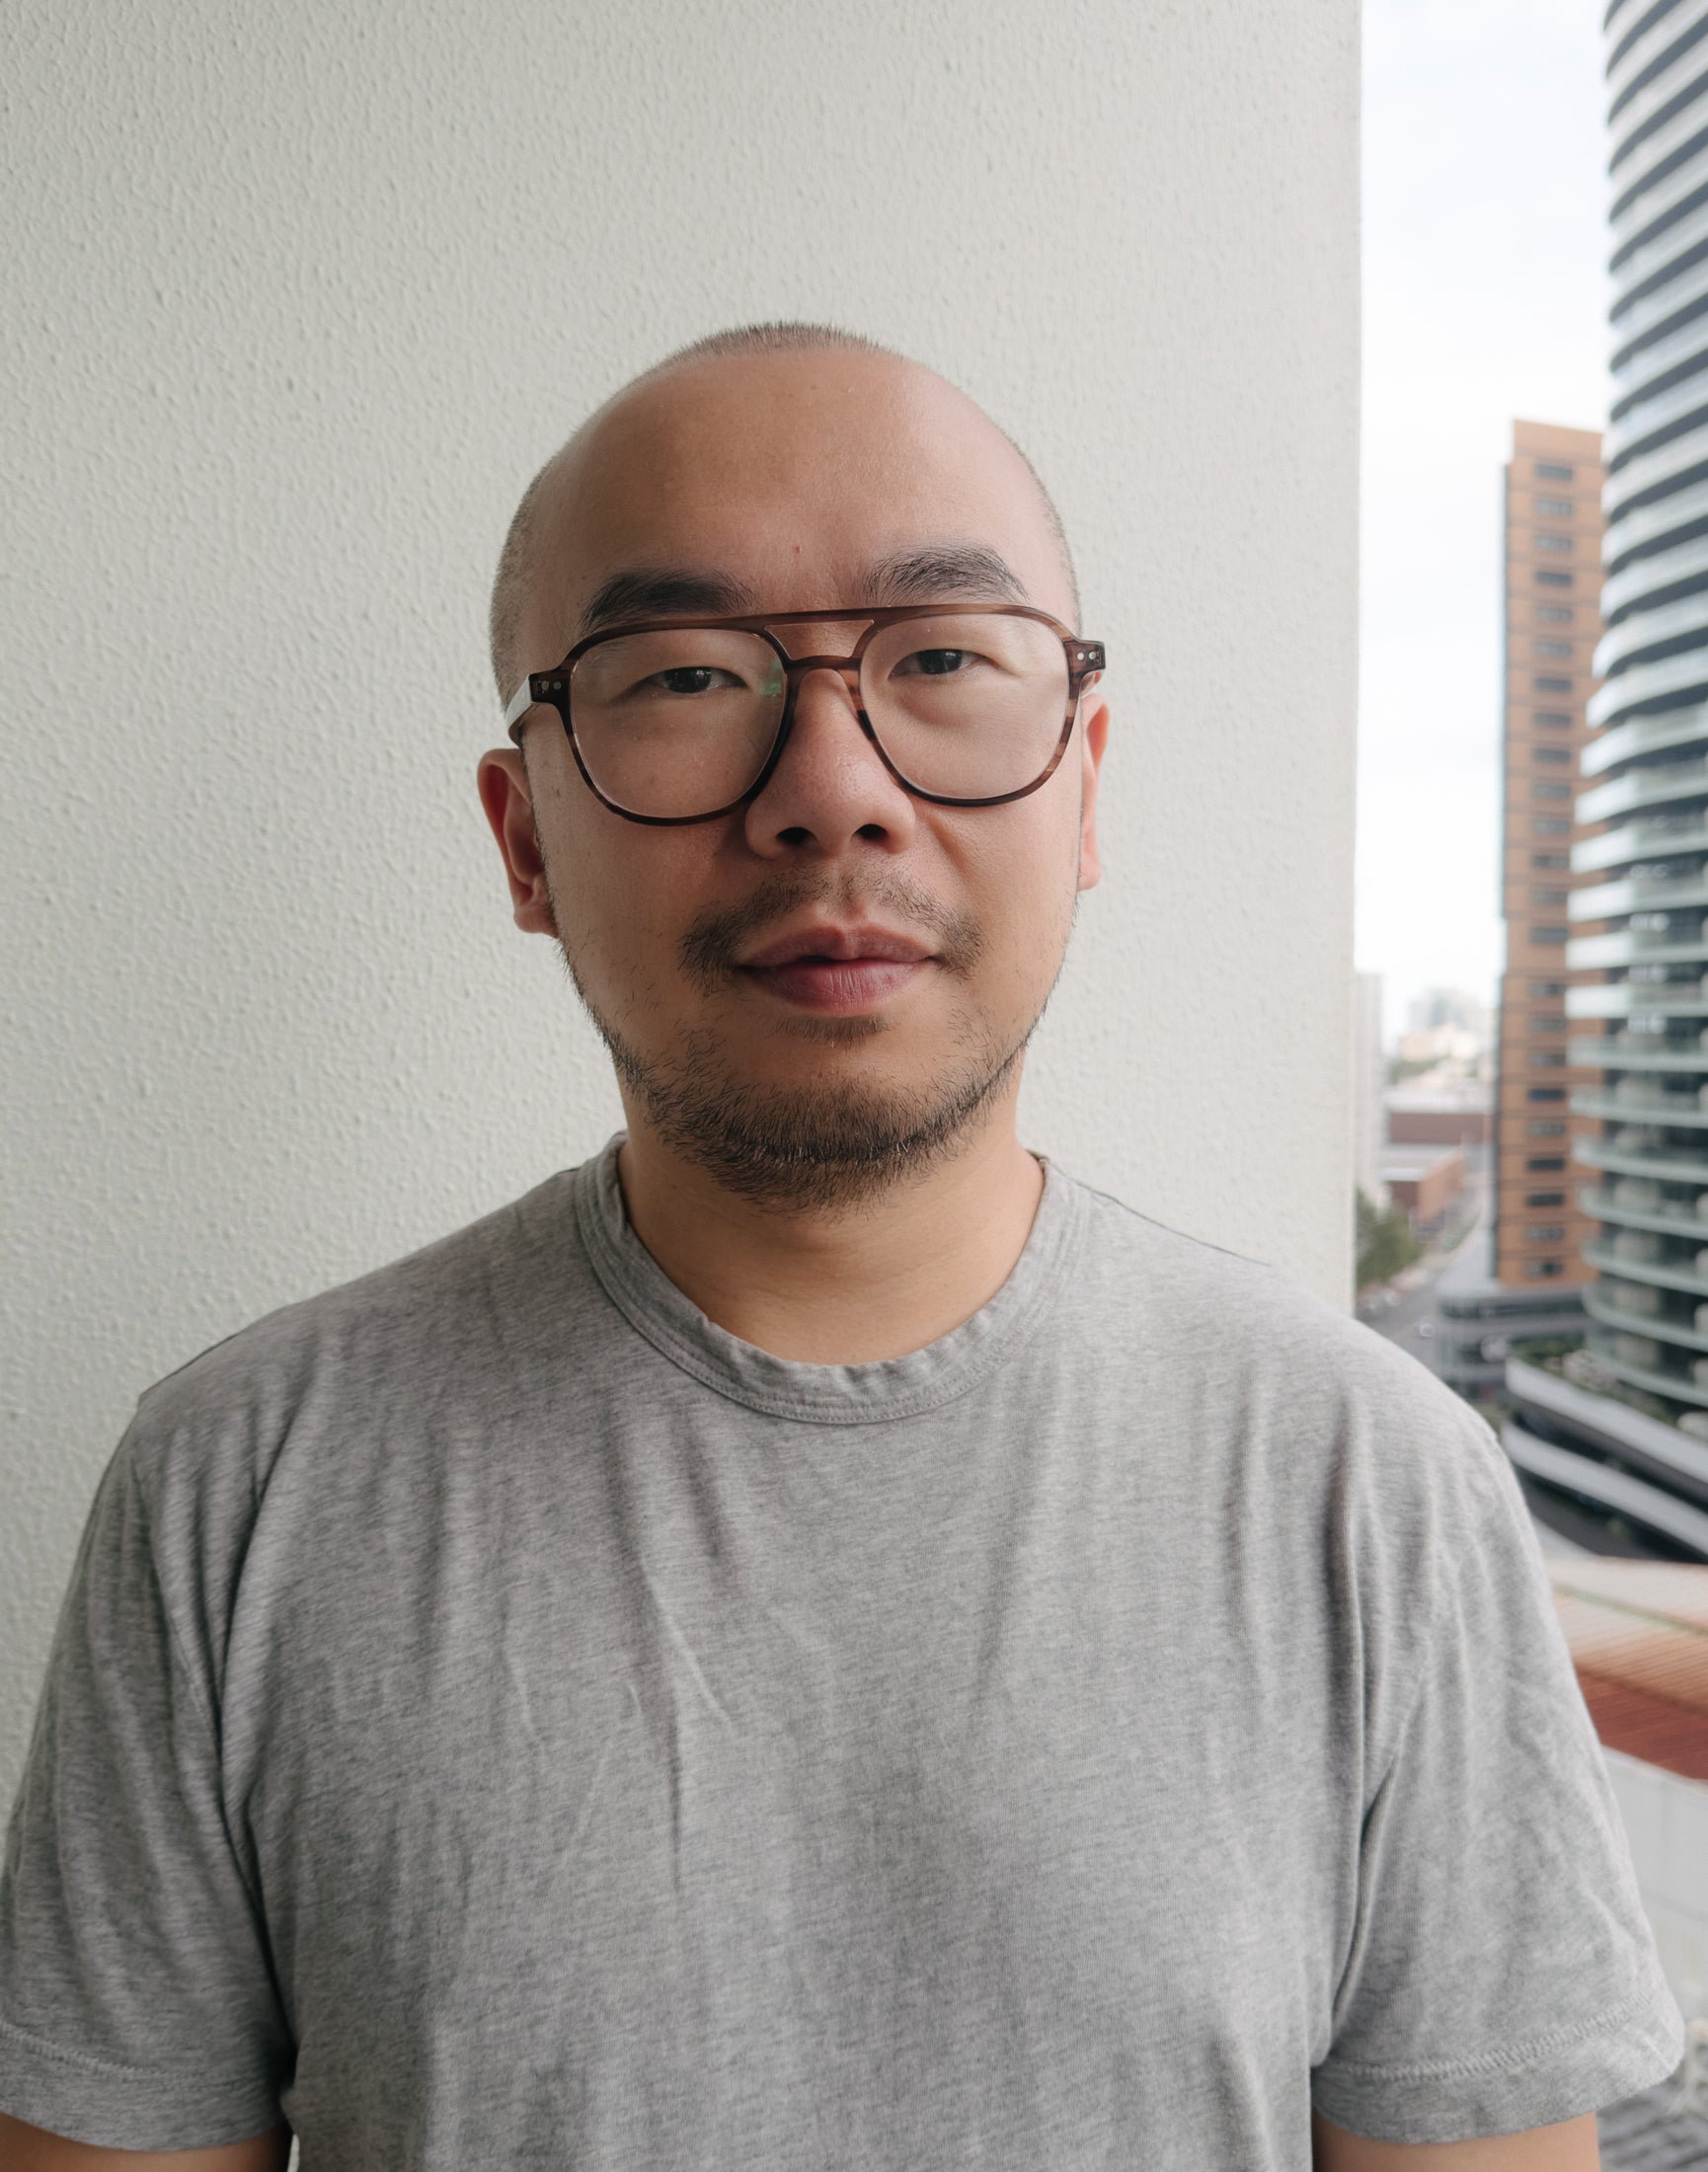
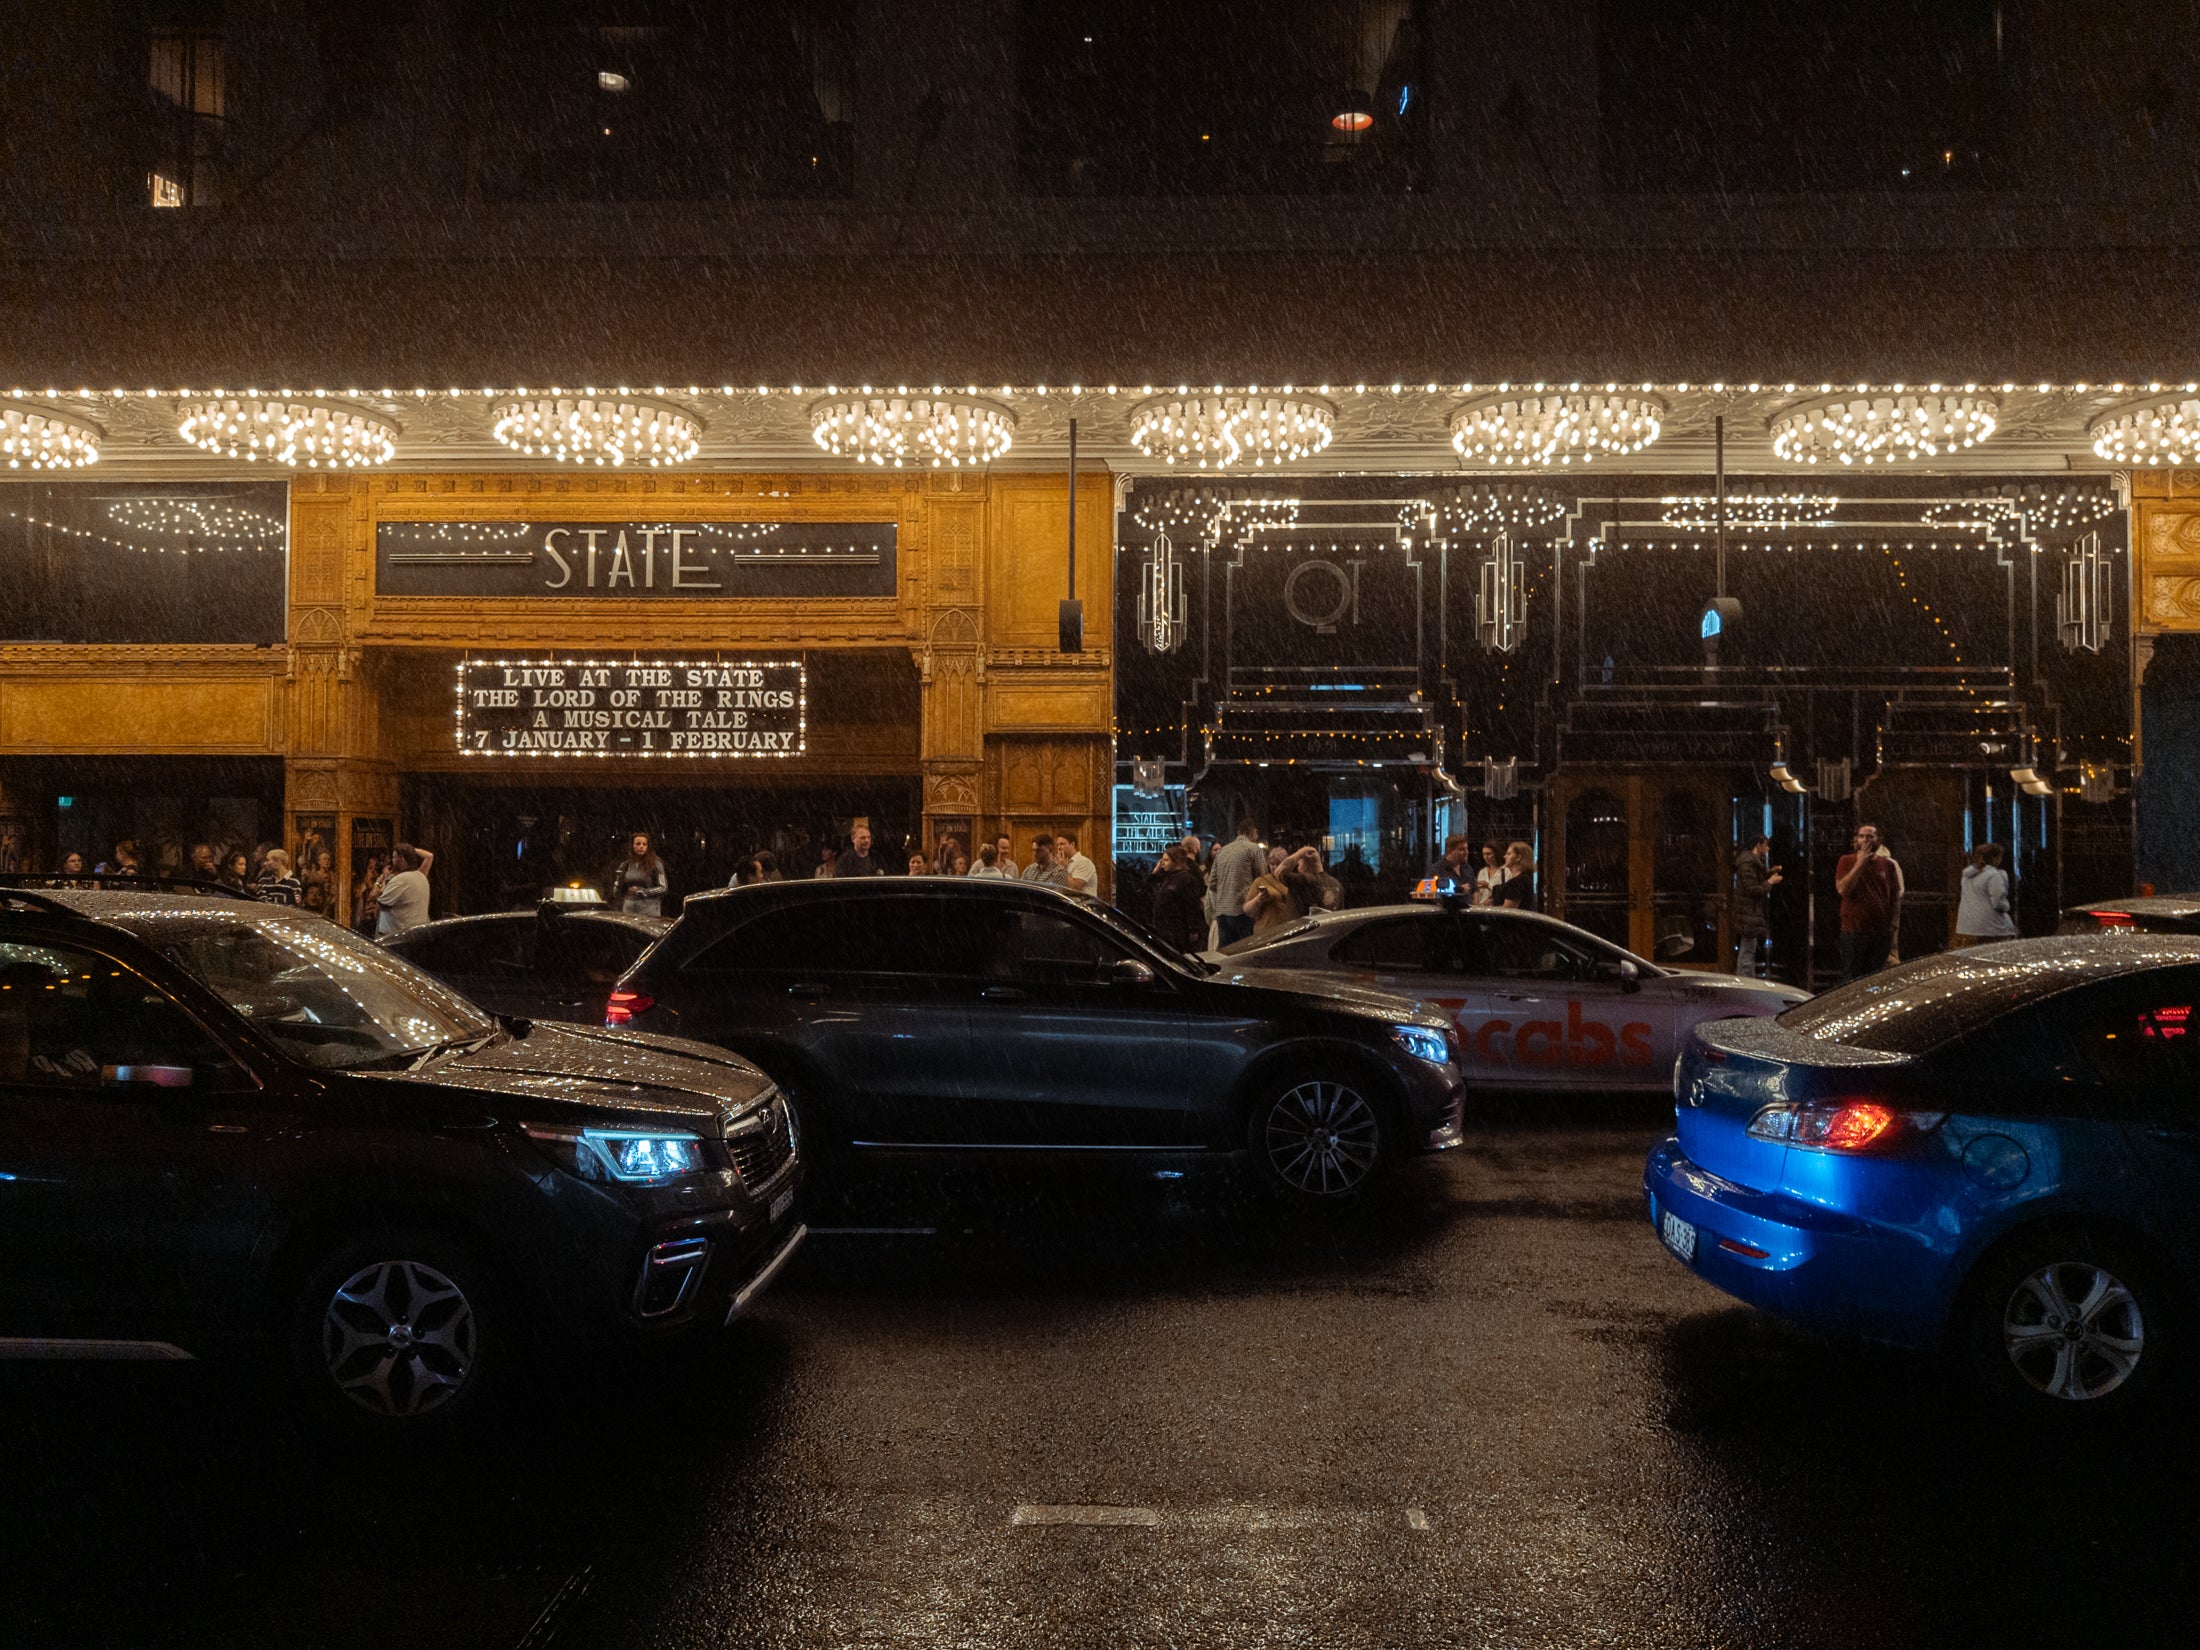
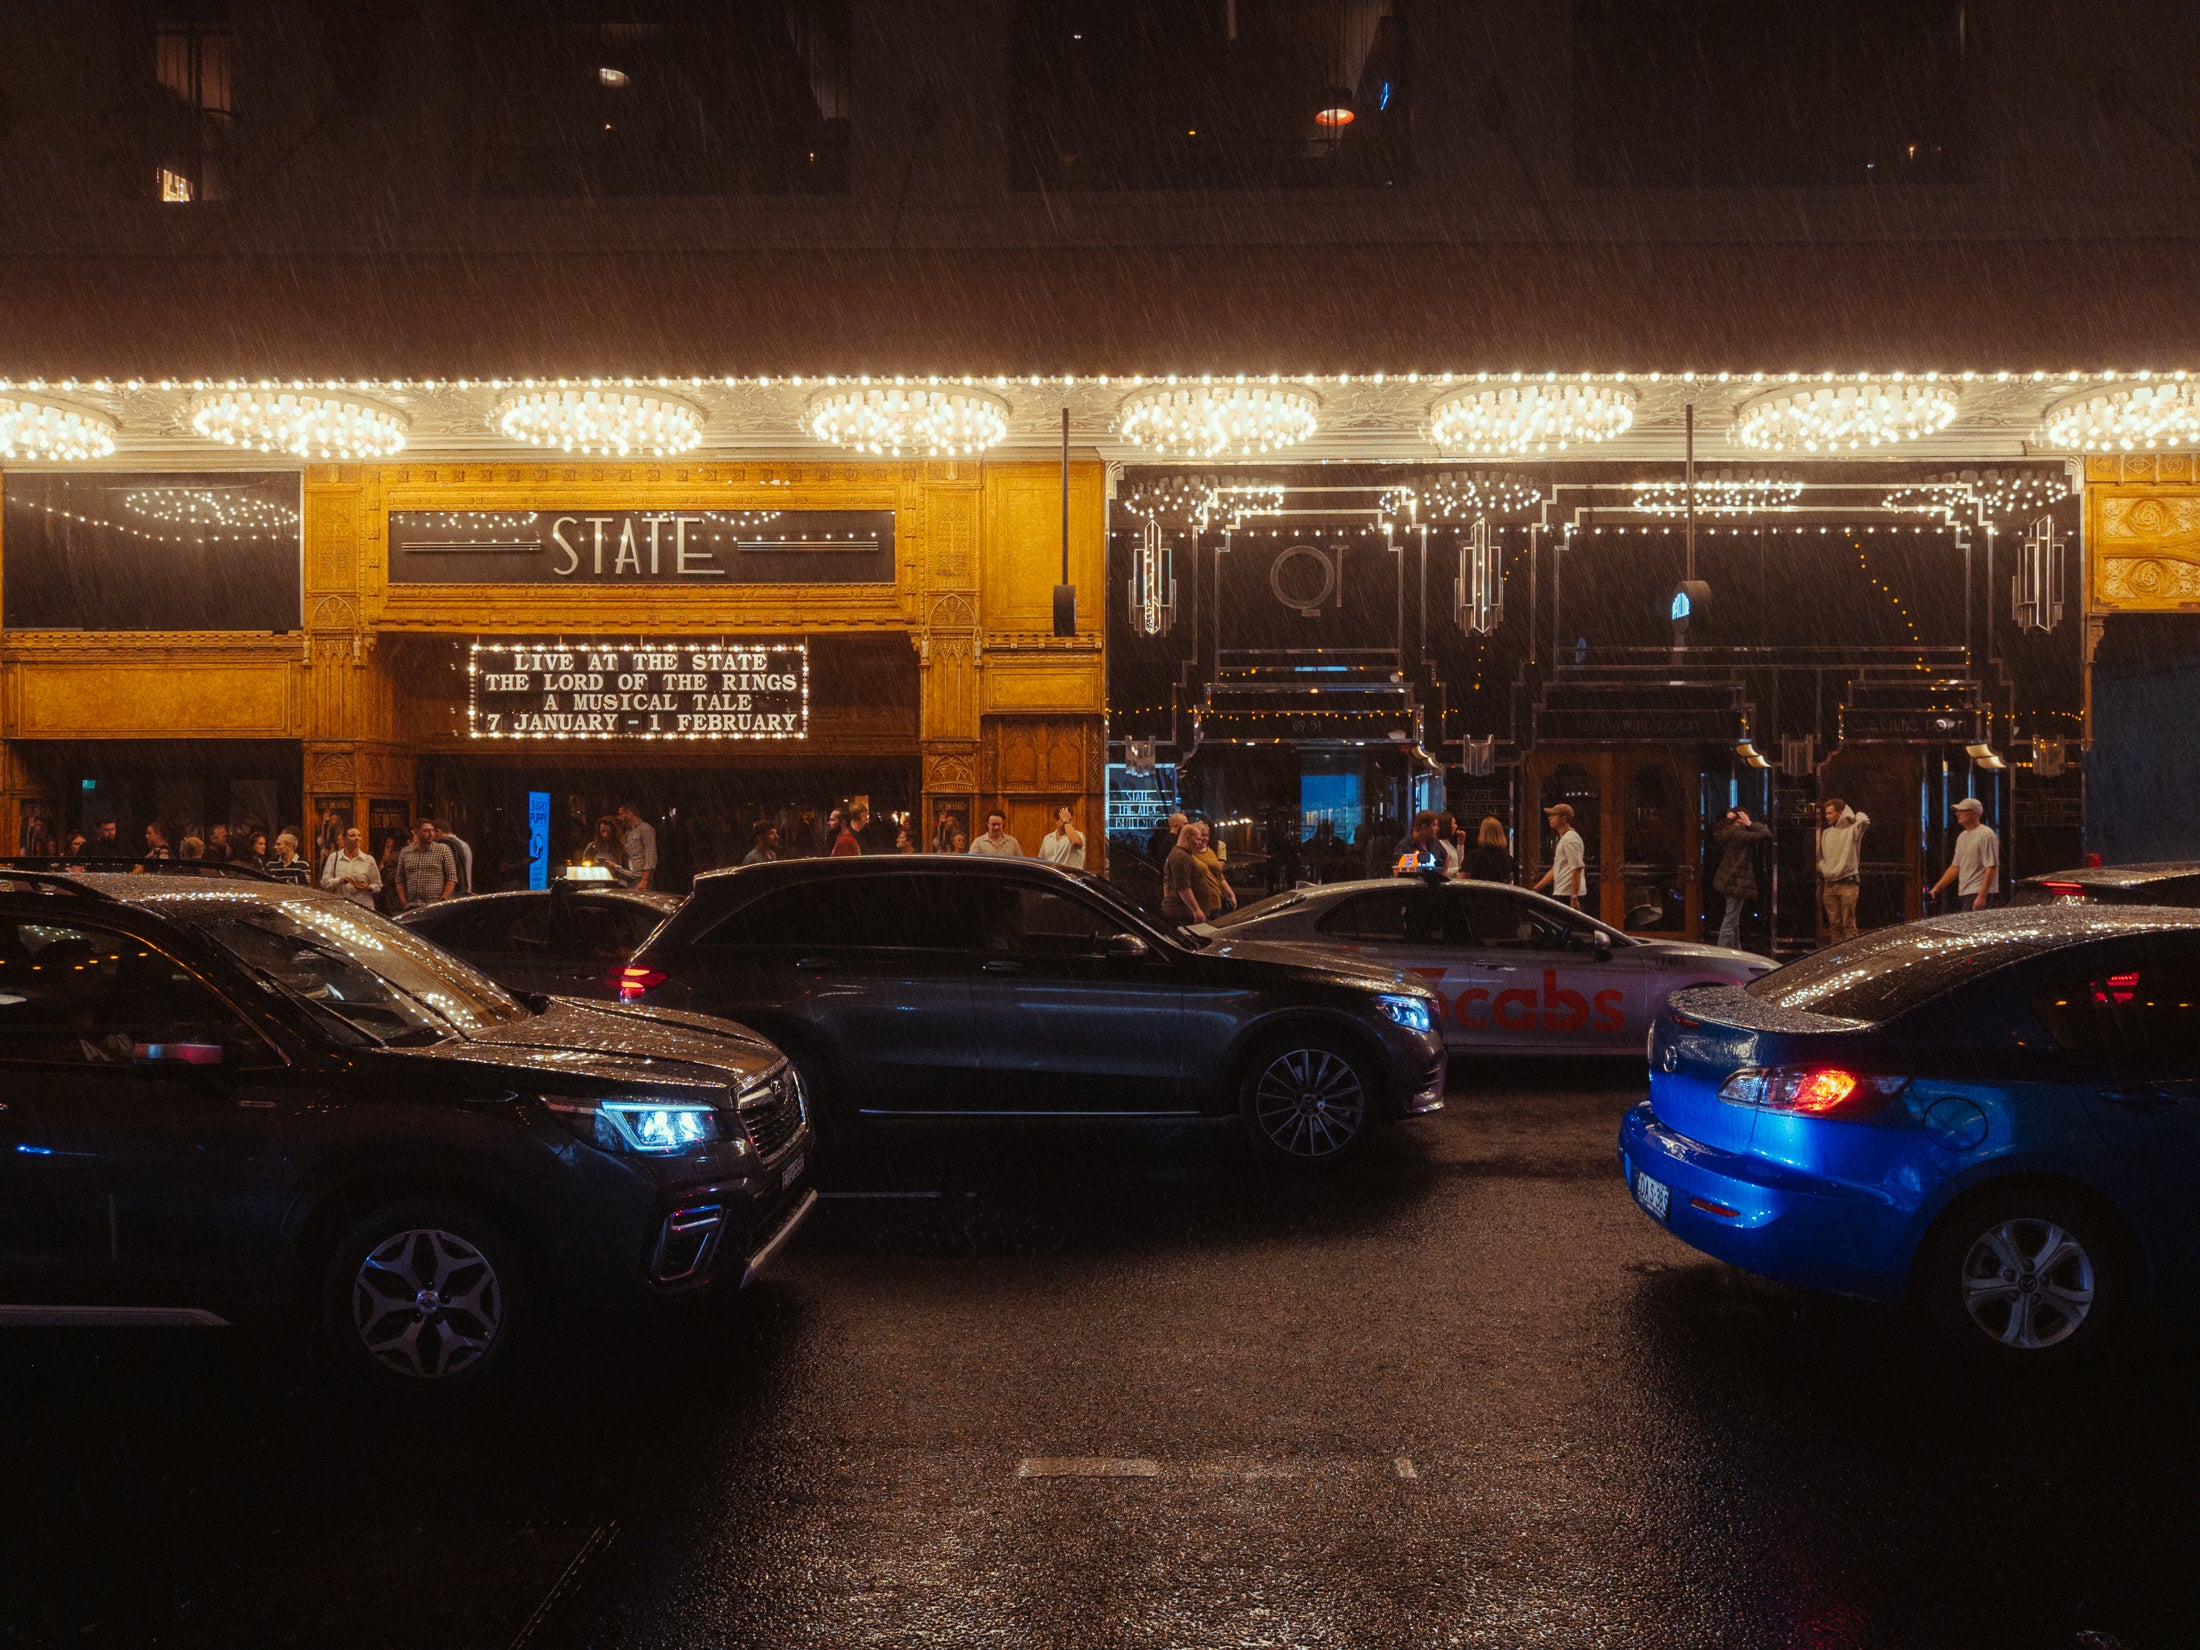
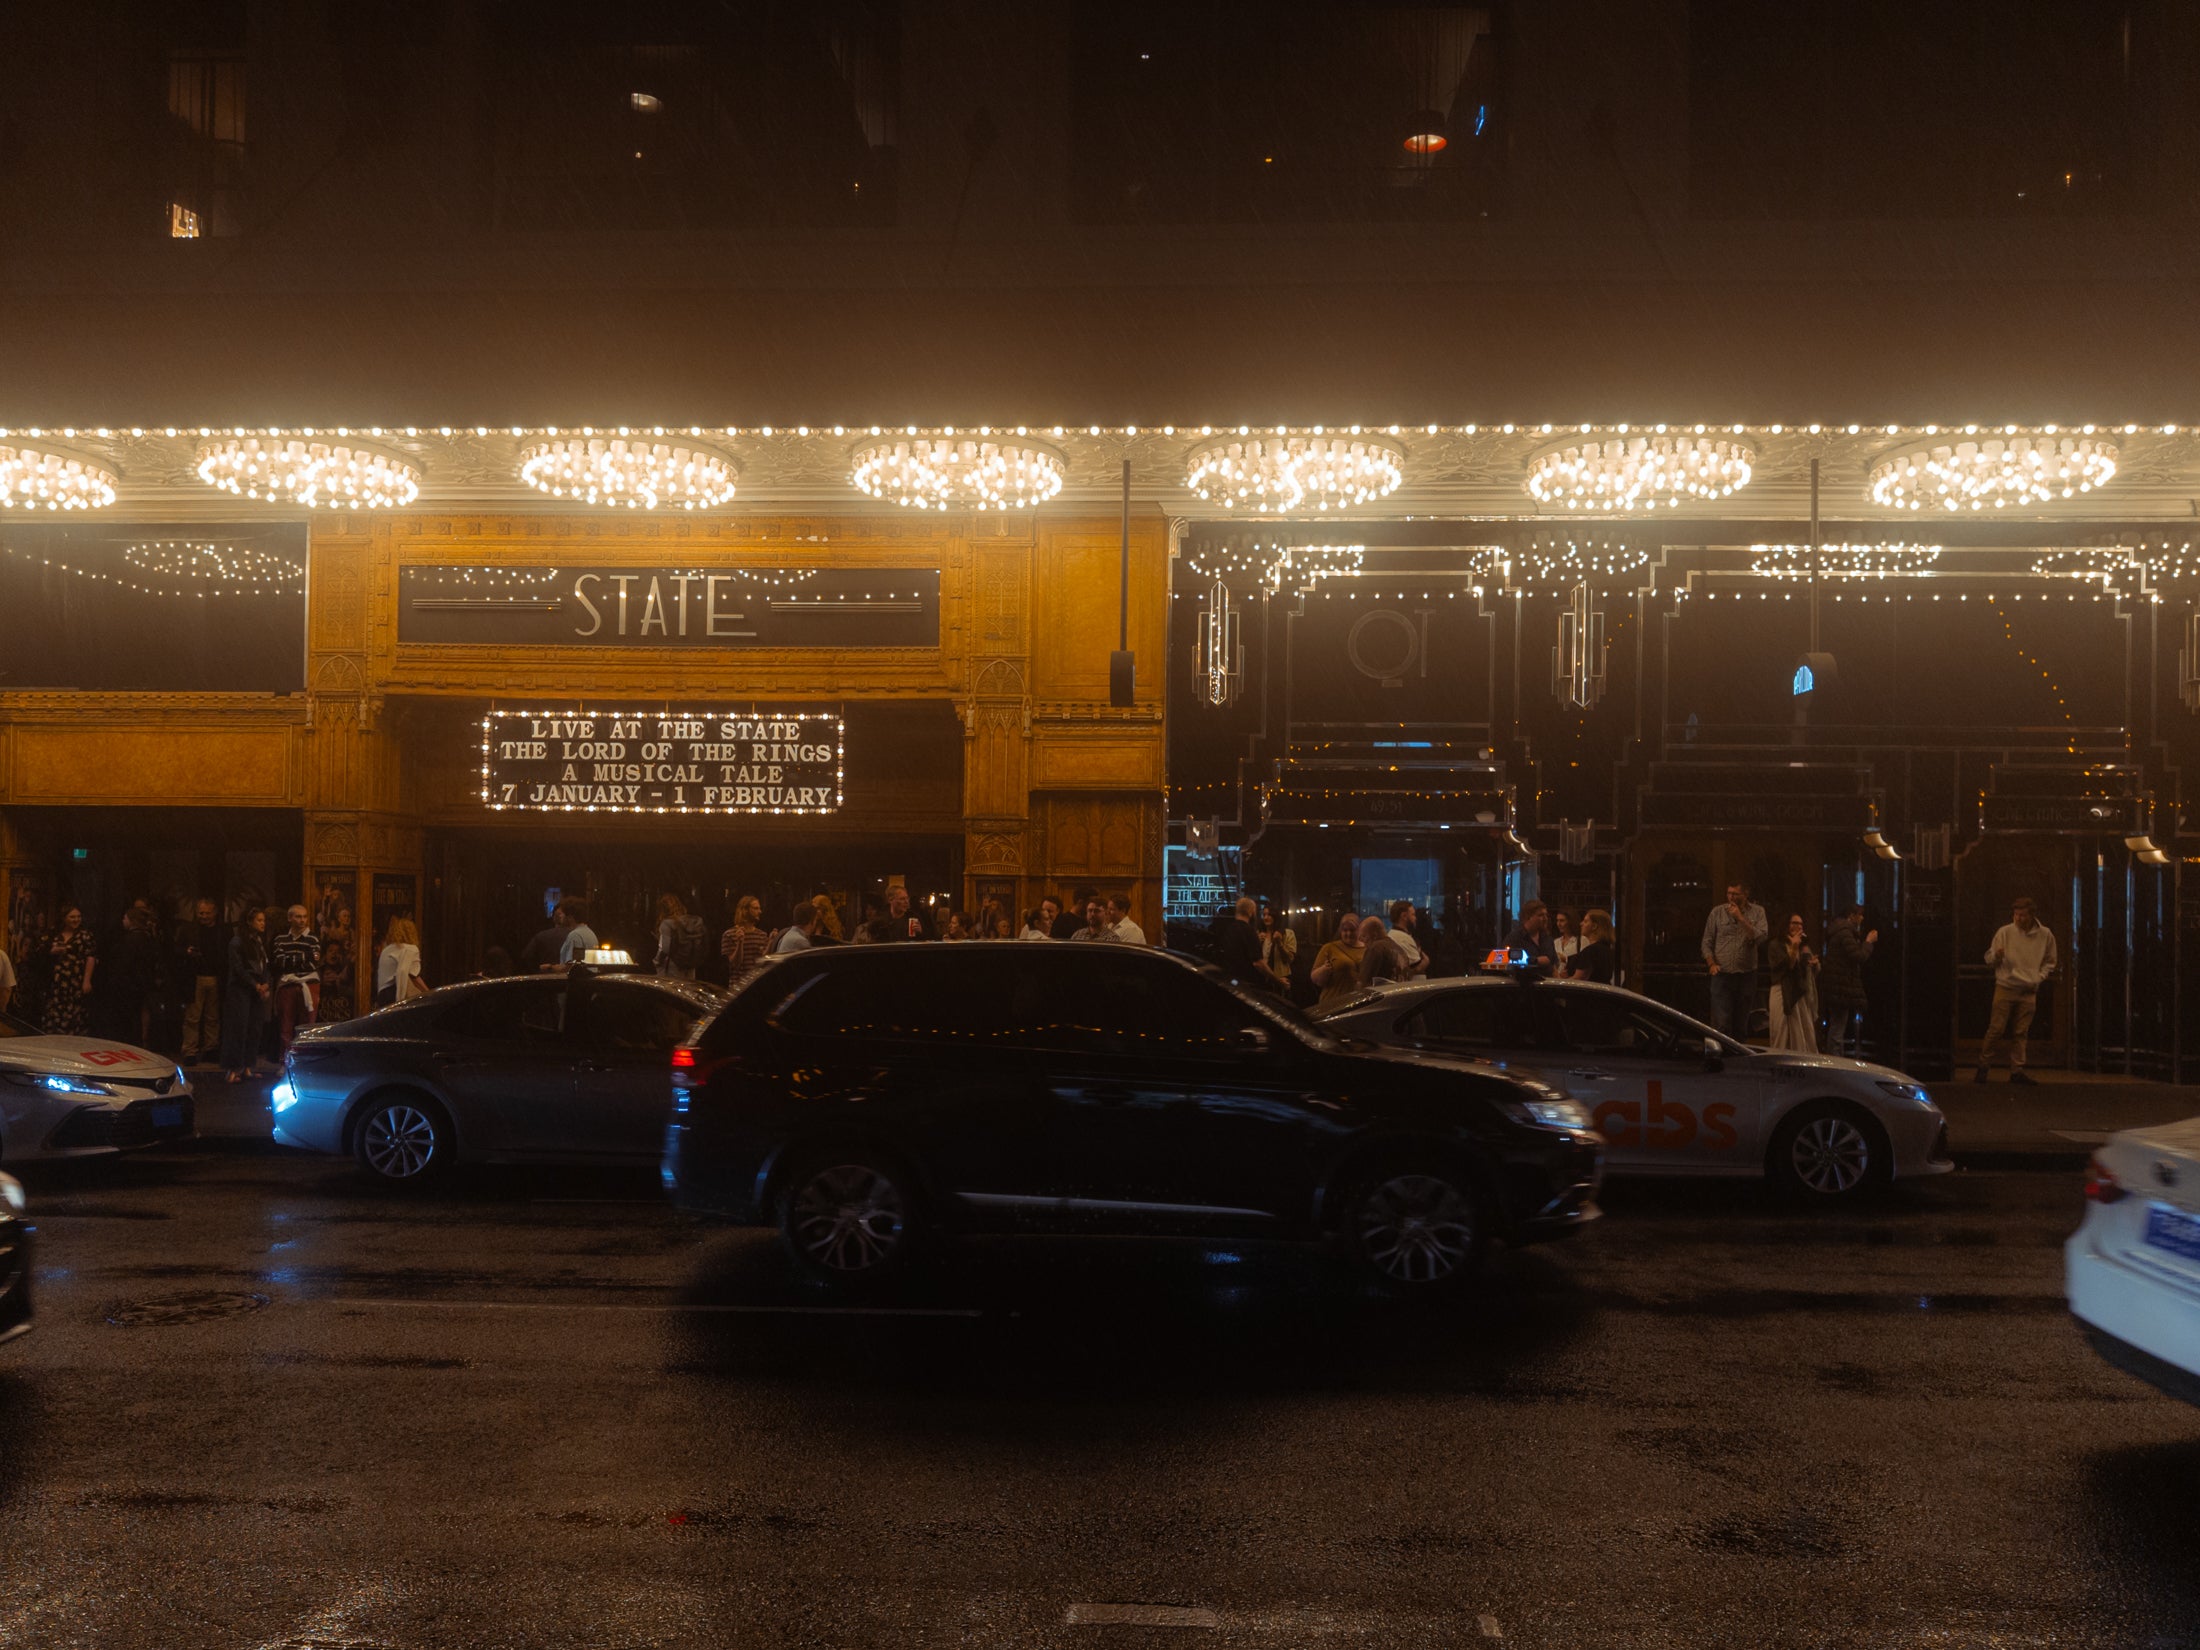
Here are the results and my observations.

Night Photos

With the train station photos, the 10% CineBloom worked well as it was able to nicely bloom the lights to remove the harshness of them. The State Theatre photos give you an idea of where the 20% CineBloom comes in handy if the goal is to create a dreamier look.

Portraits

With the portraits I kept the editing parameters as close as possible to highlight the differences between the filters. Without the filter the portrait has a high amount of that iPhone sharpness along with a more red tone to the skin, with 10% the portrait softens just a bit with lower contrast for a more natural looking photo and the 20% once again has that hazy dreamier look (look how smooth my skin looks though).

0 vs 10% vs 20%

In this comparison, I shot all three images around the same time. From 0 to 10% beside the blooming the 10% created a more atmospheric photo, you really get a sense of those lights whereas the photo with no CineBloom felt more flat and dull (this is even after making adjustments to the exposure and contrast). Once again, the 20% has the most obvious dreamy look.

In terms of density, for 99% of use cases, I think the 10% is the density you need and one you could keep on your phone. The 20% is a specialty one as the dreamy/hazy effect is heavy.

Final Thoughts

On the whole, I was impressed with the quality of the photos and the QuickLock CineBloom. The results were pleasing, even if they did not completely overcome that iPhone camera sharpening.

For taking photos at night with a lot of contrast and for portraits, I'd recommend it. The CineBloom should work well with video, but I'll save that for a future post.

As for whether you'd choose a QuickLock or a regular CineBloom filter, this depends on your need for convenience and whether you have other cameras. I found that I am using the QuickLock filter a lot more than the CineBloom filter.

In conclusion, the QuickLock CineBloom is a quick and easy way to give your iPhone photos (and video) a more natural film-like look and is a worthy addition to your content-creating kit. The seamless integration with the Moment Photo Case makes it easy to have it with you all the time.